
Google Android 團隊在 2023 年宣布將開發環境從 Ubuntu 轉換為 Debian,這對 Android 開發者來說是一個重要變化。對於想架設伺服器的人而言,跟著 Google 的腳步絕對錯不了。
安裝
請依如下步驟安裝 Debian
下載映像檔
進入交大資工系網站下載映像檔 debian-12.9.0-amd64-netinst.iso。
安裝
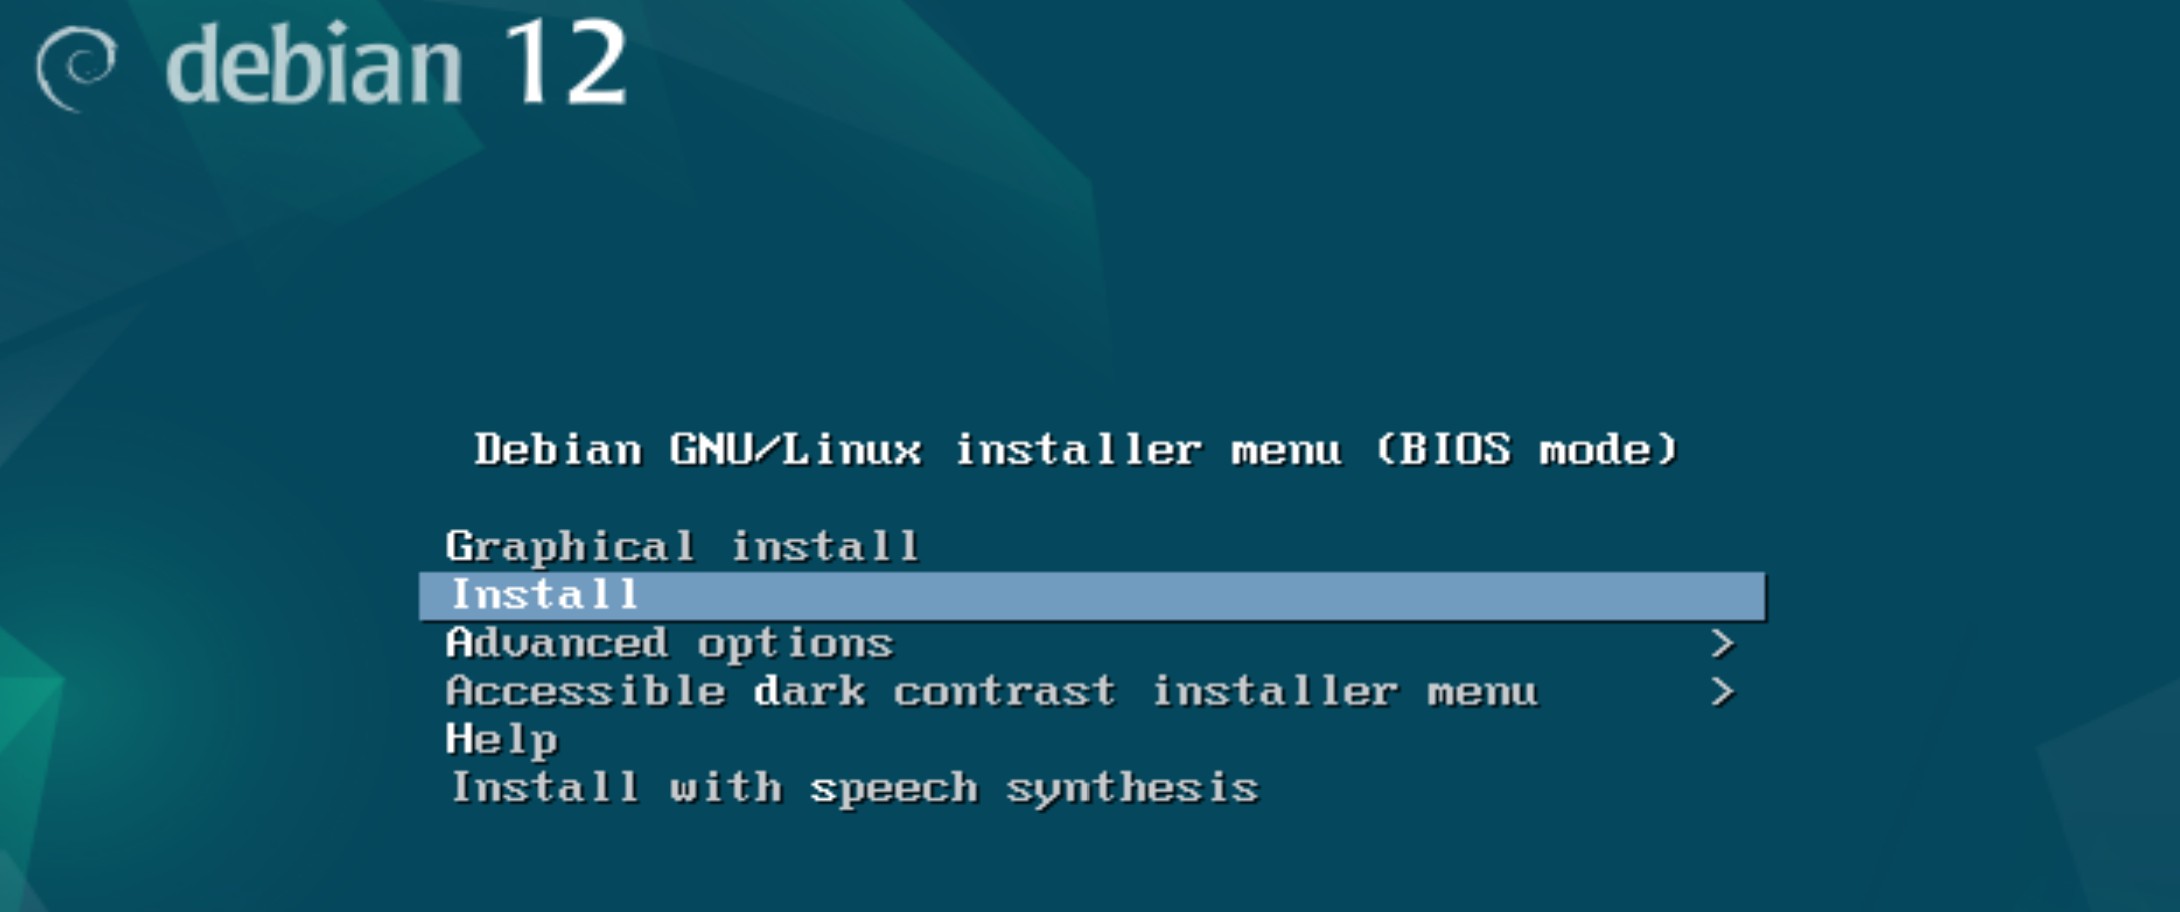
安裝時,可以選 Graphical install 圖型安裝可用滑鼠點選,或 Install 只能用鍵盤操作。
詢問使用的語言請選English,Select your location 選 other,然後再選 Asia,就可以看到 Taiwan 。
Configure locales 選 en_US.UTF-8,Keymap to use 選 American English。
Hostname : 輸入網域第一碼,如 mahaljsp,Domain name : 如 ddns.net。
帳號密碼
安裝時要設定 root 的密碼,同時會要求新增另一組帳密。root 帳號只能在本機登入,無法由遠端 ssh 登入。
新增的帳號本身不是 sudo 群組,無法使用 sudo 進行切換,需待安裝好後再設定成 sudo 群組。
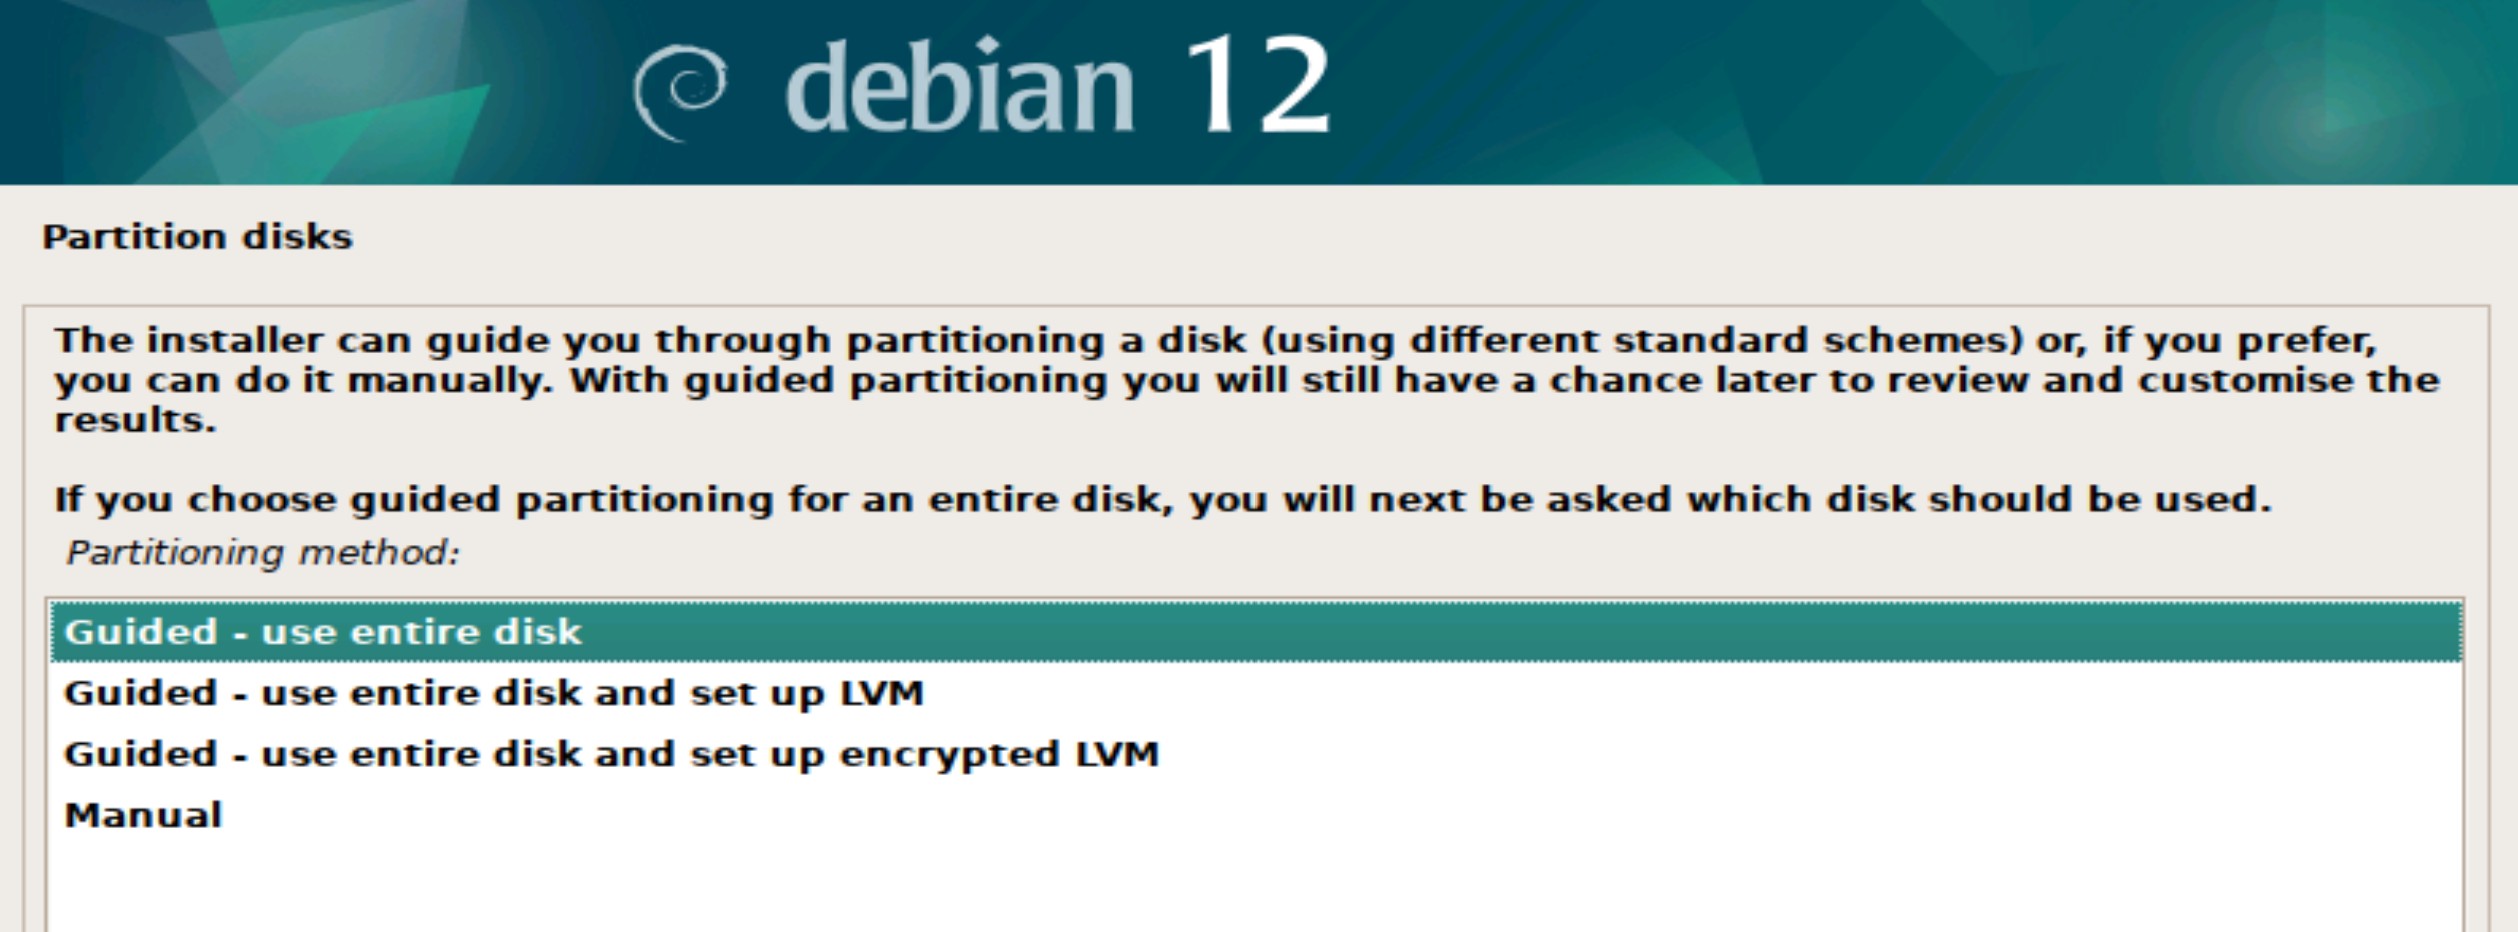
Partition disk
Partition disks 請選用 use entire disk。
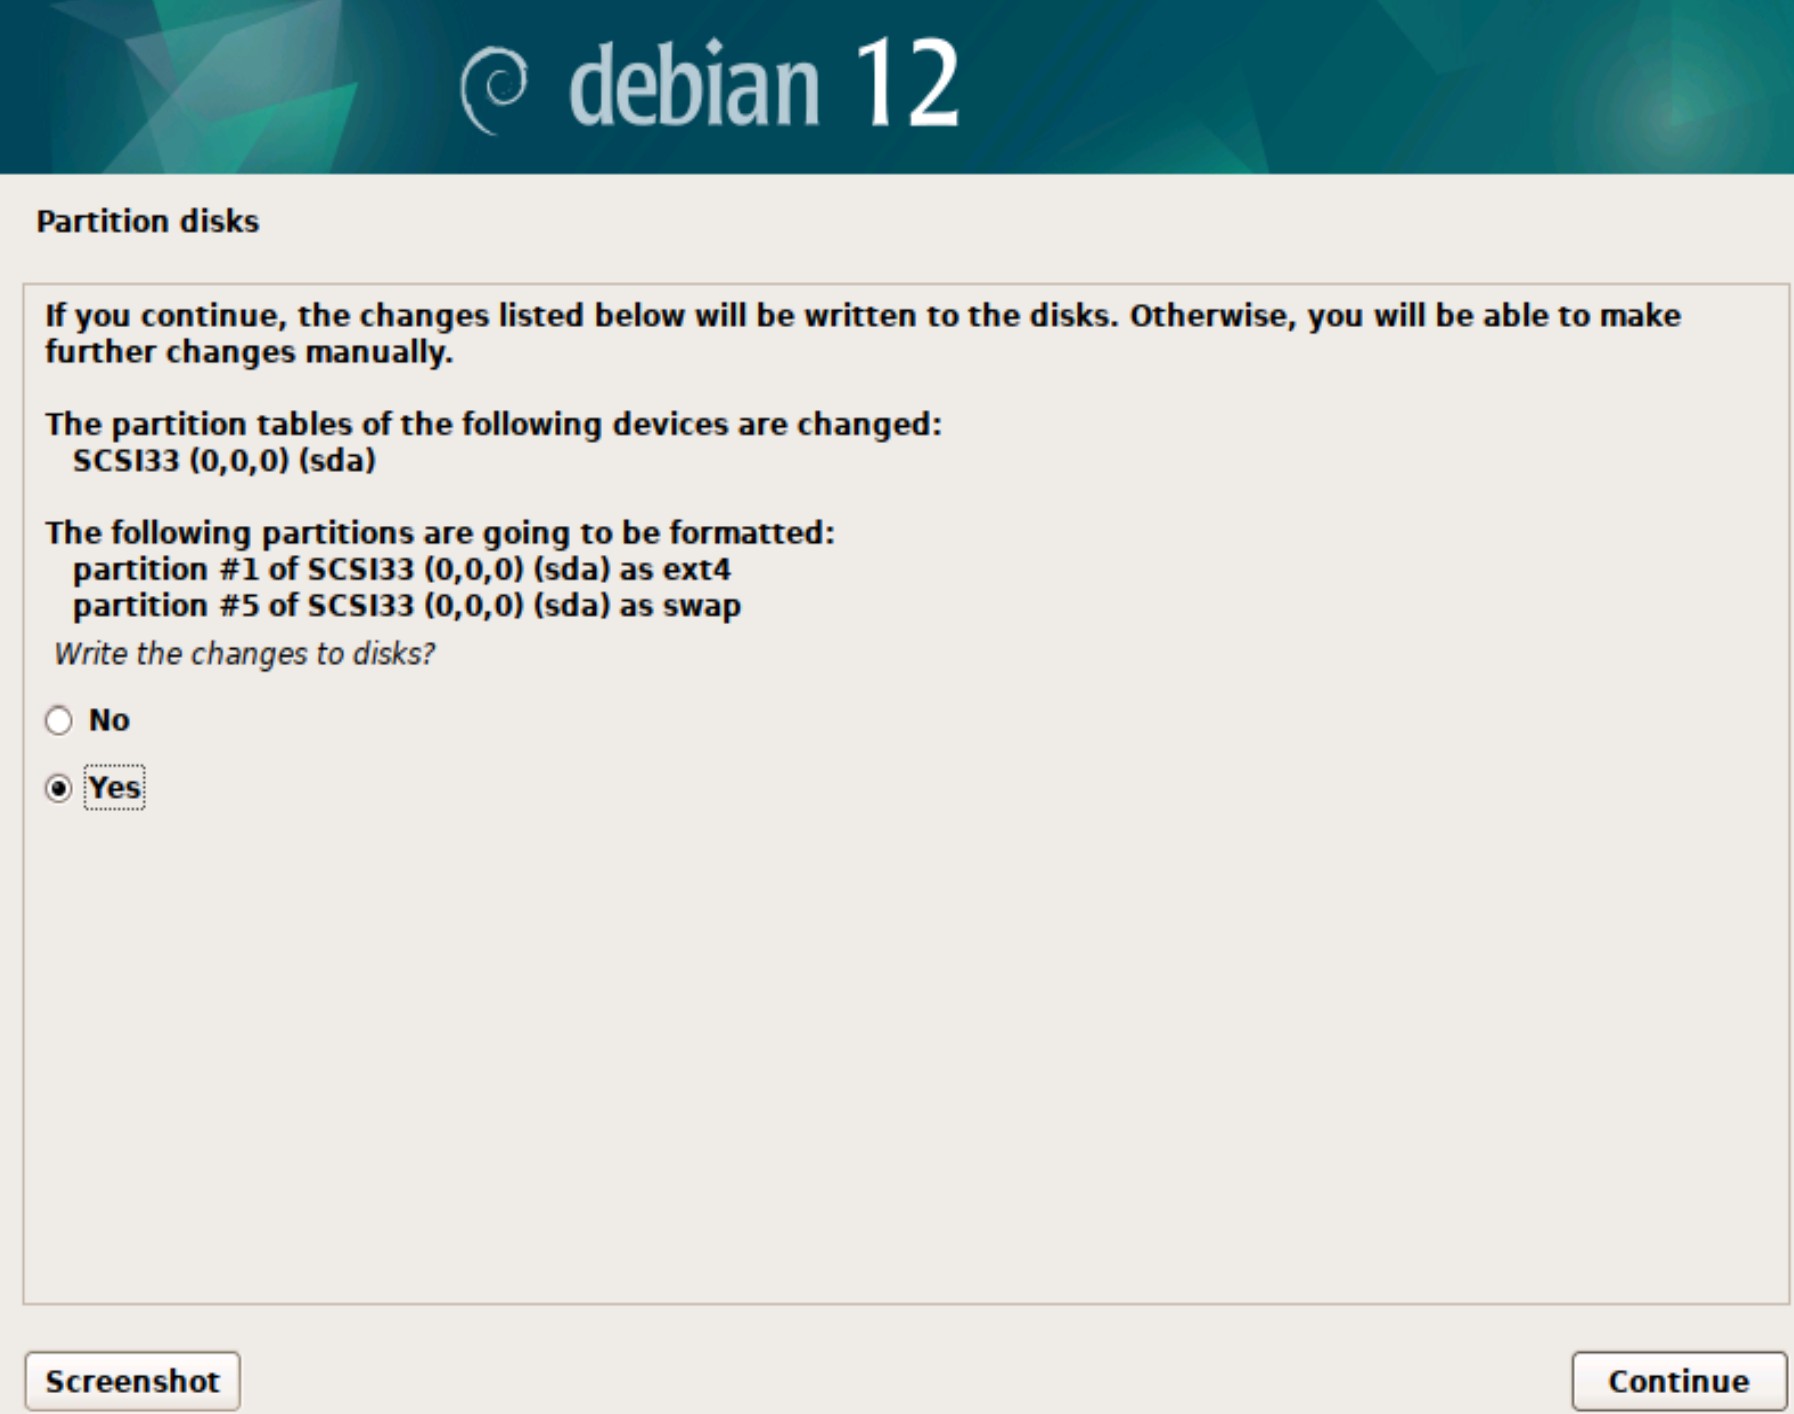
然後要按 Yes 進行安裝
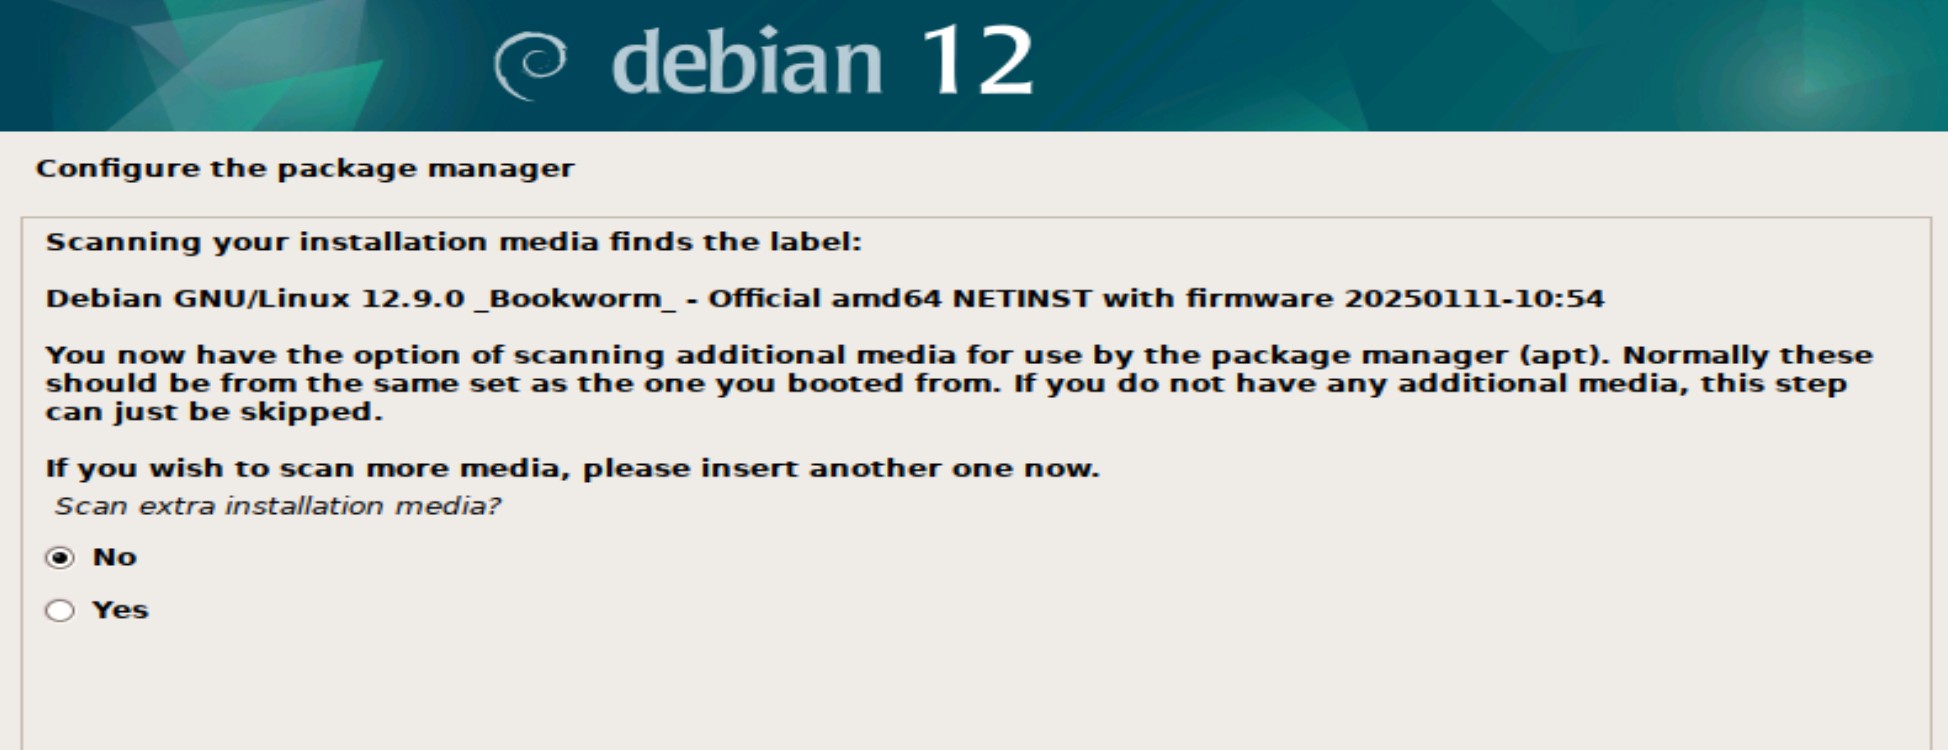
Configure the package manager
Congigure the package manager 詢問是否要掃瞄另一個 DVD,請選取 No。
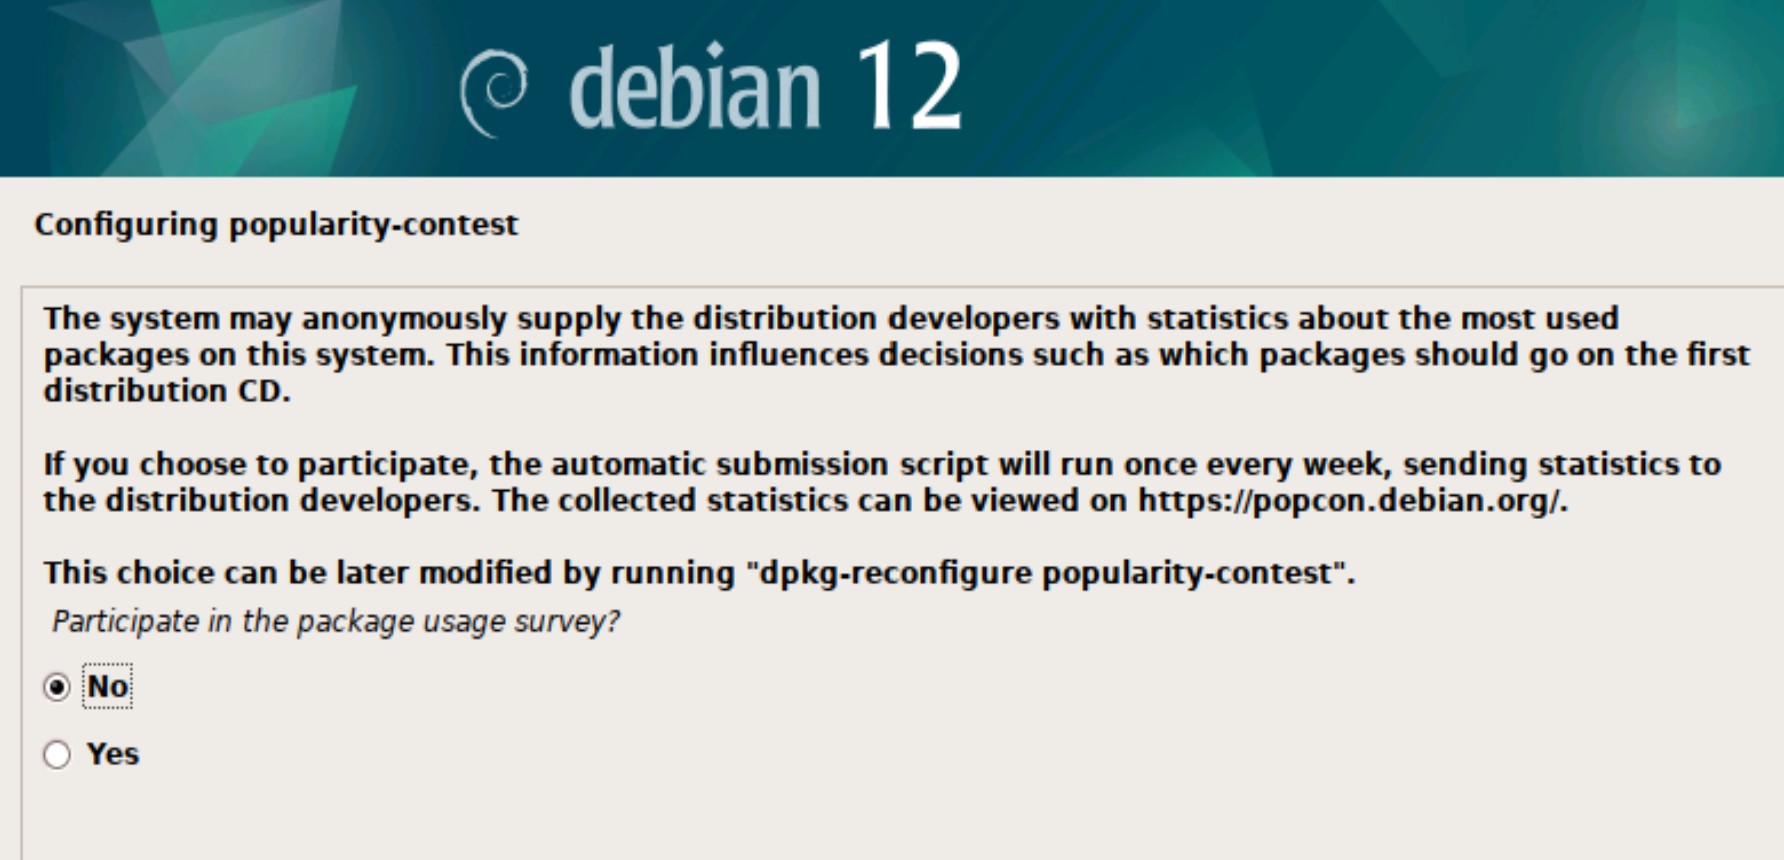
Configuring popularity-contest
詢問你是否願意匿名回報你常用的軟體套件資訊給 Debian 社群,以幫助改進套件的熱門度排名,請選取 No。
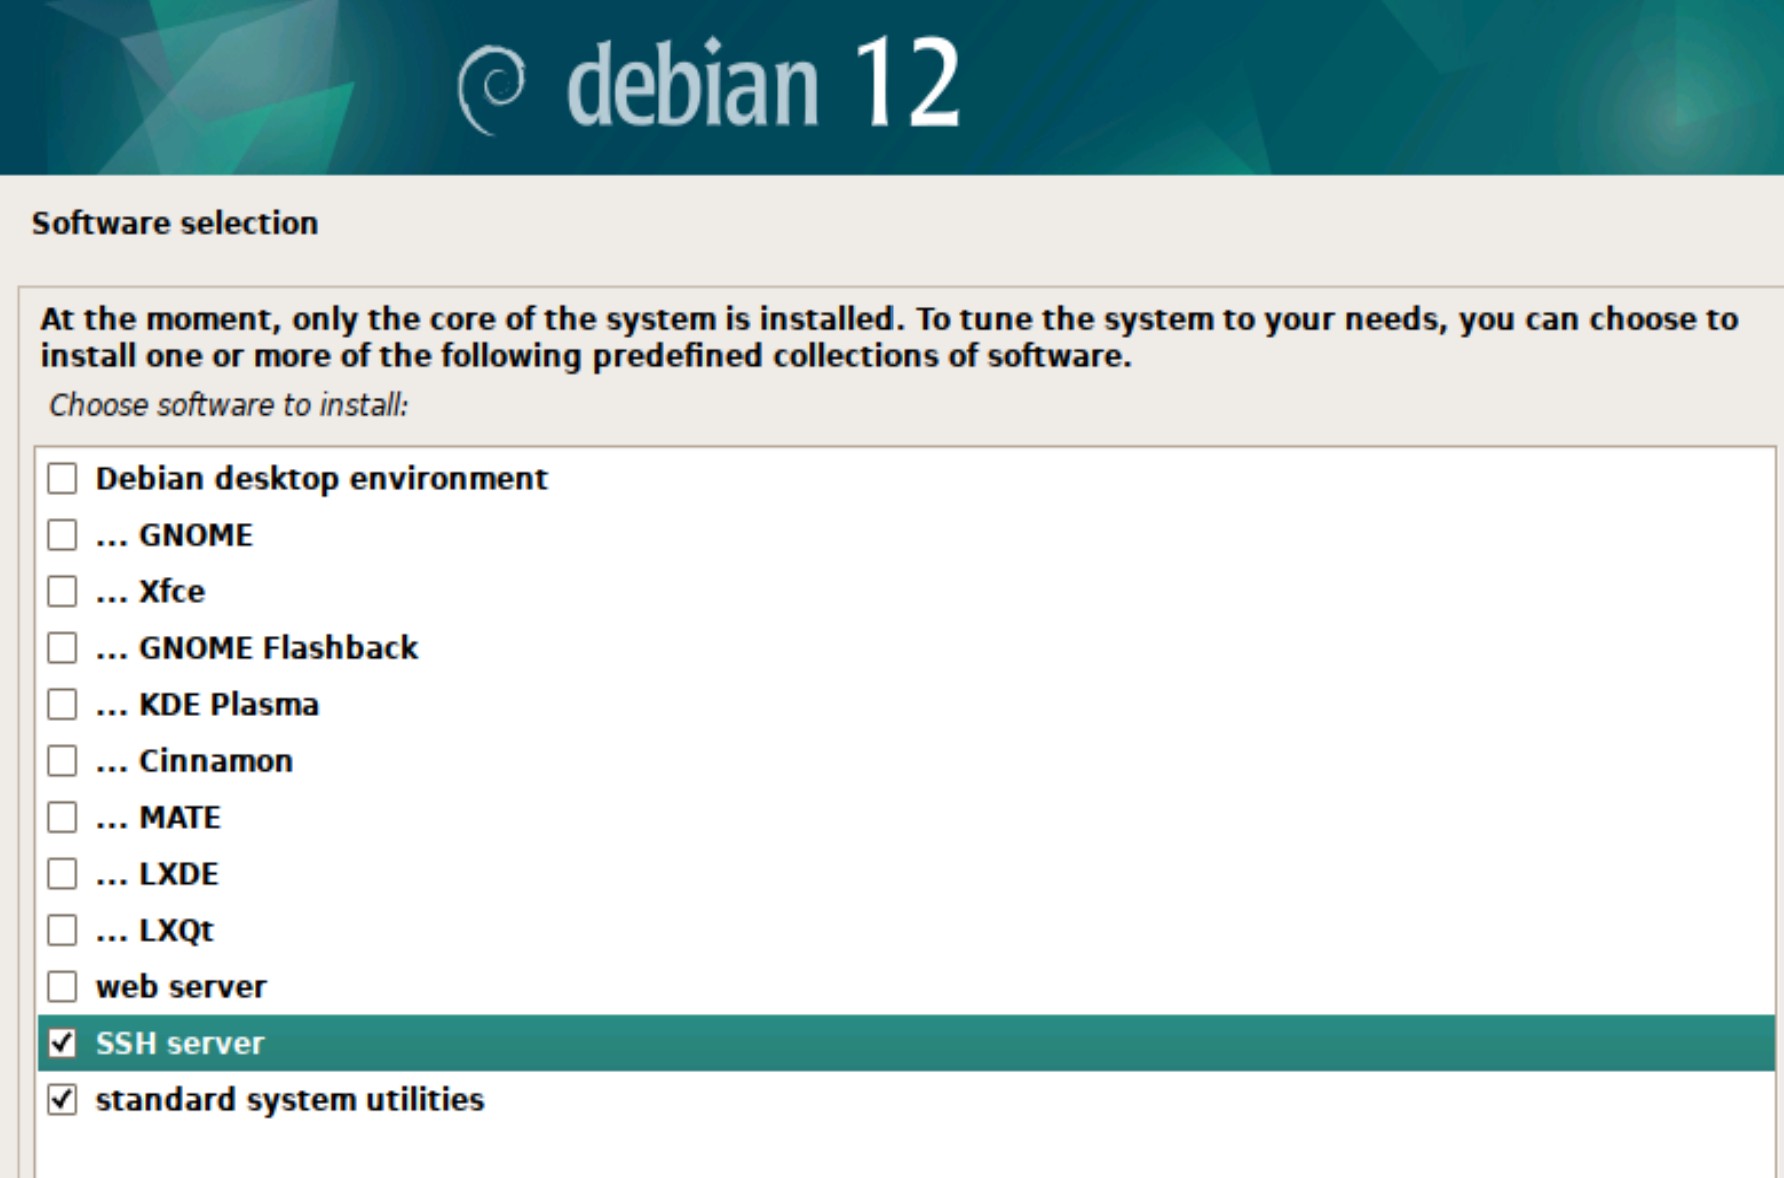
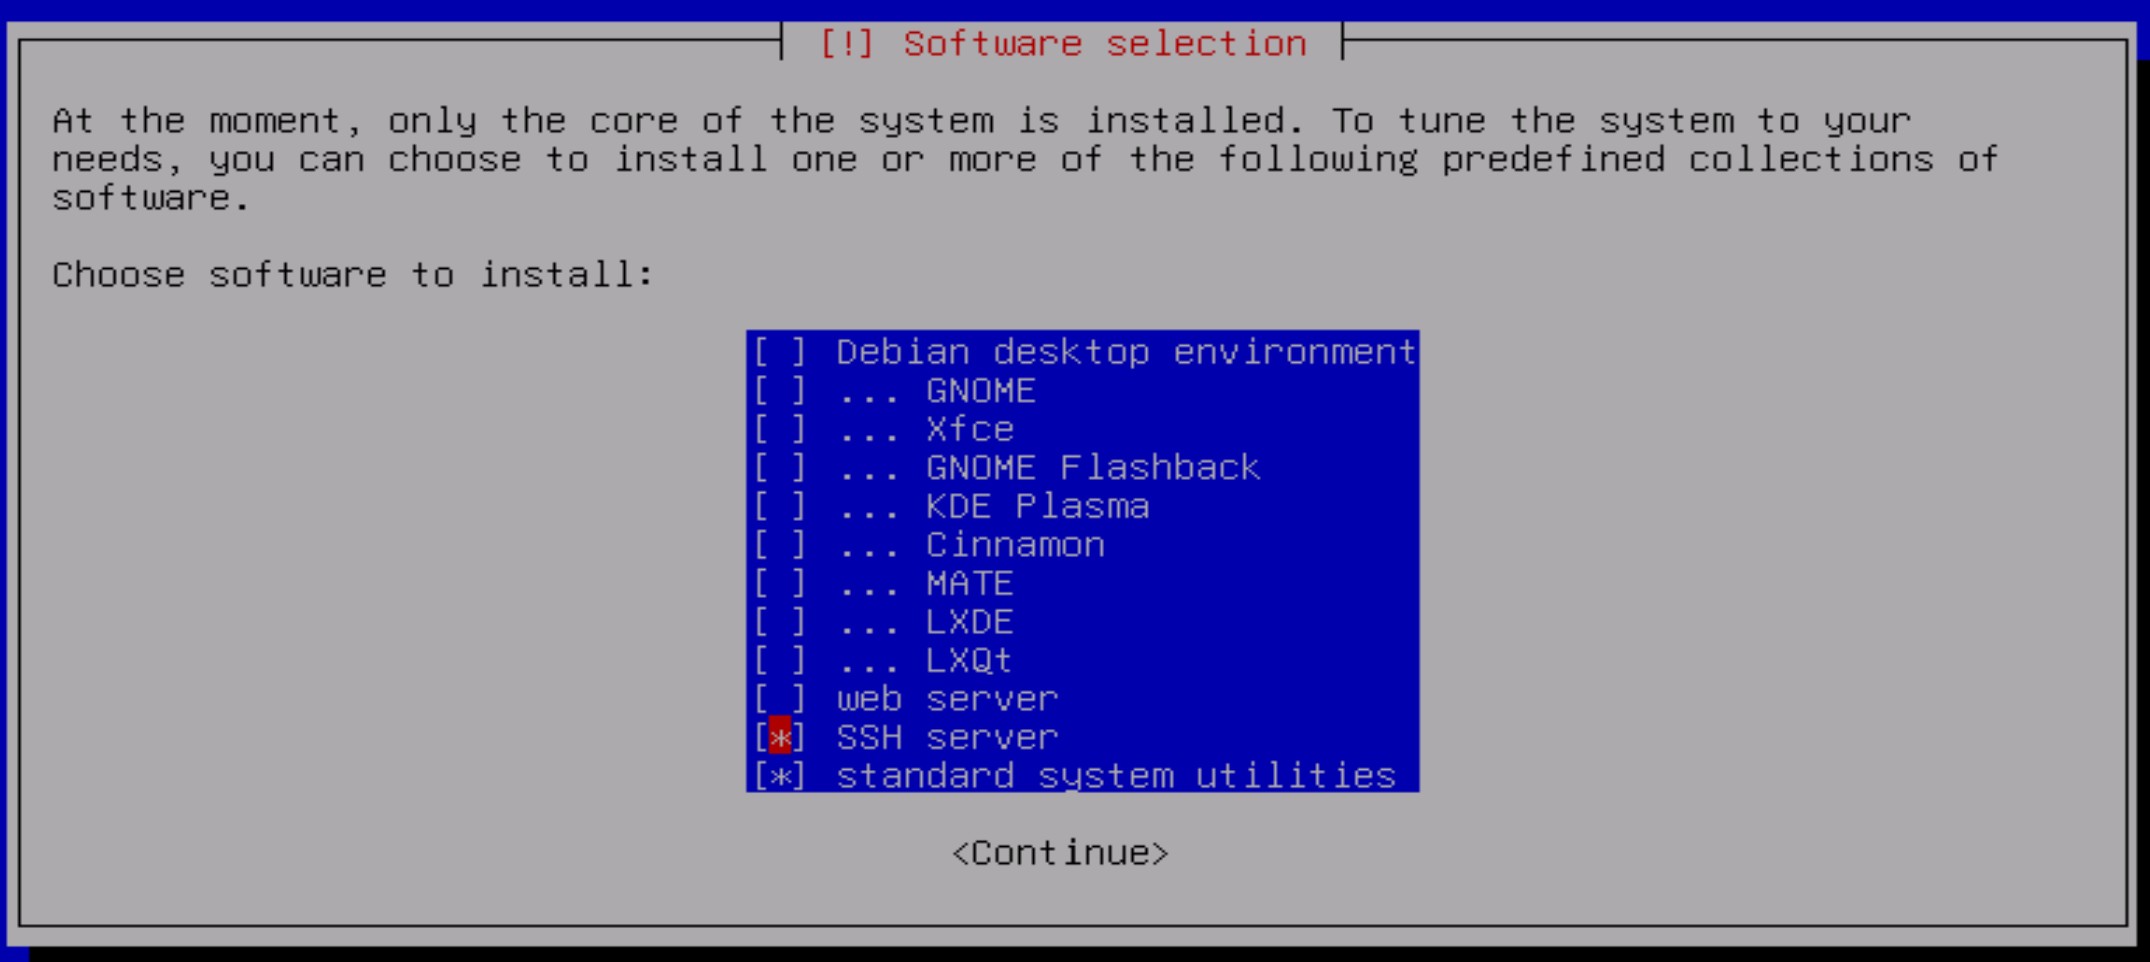
安裝軟体
Software selection 選擇要安裝的軟体,我們只要安裝 Server 而以,所以請把 Debian desktop environment 及 GNOME 這二項都取消,另外請勾選 SSH server。
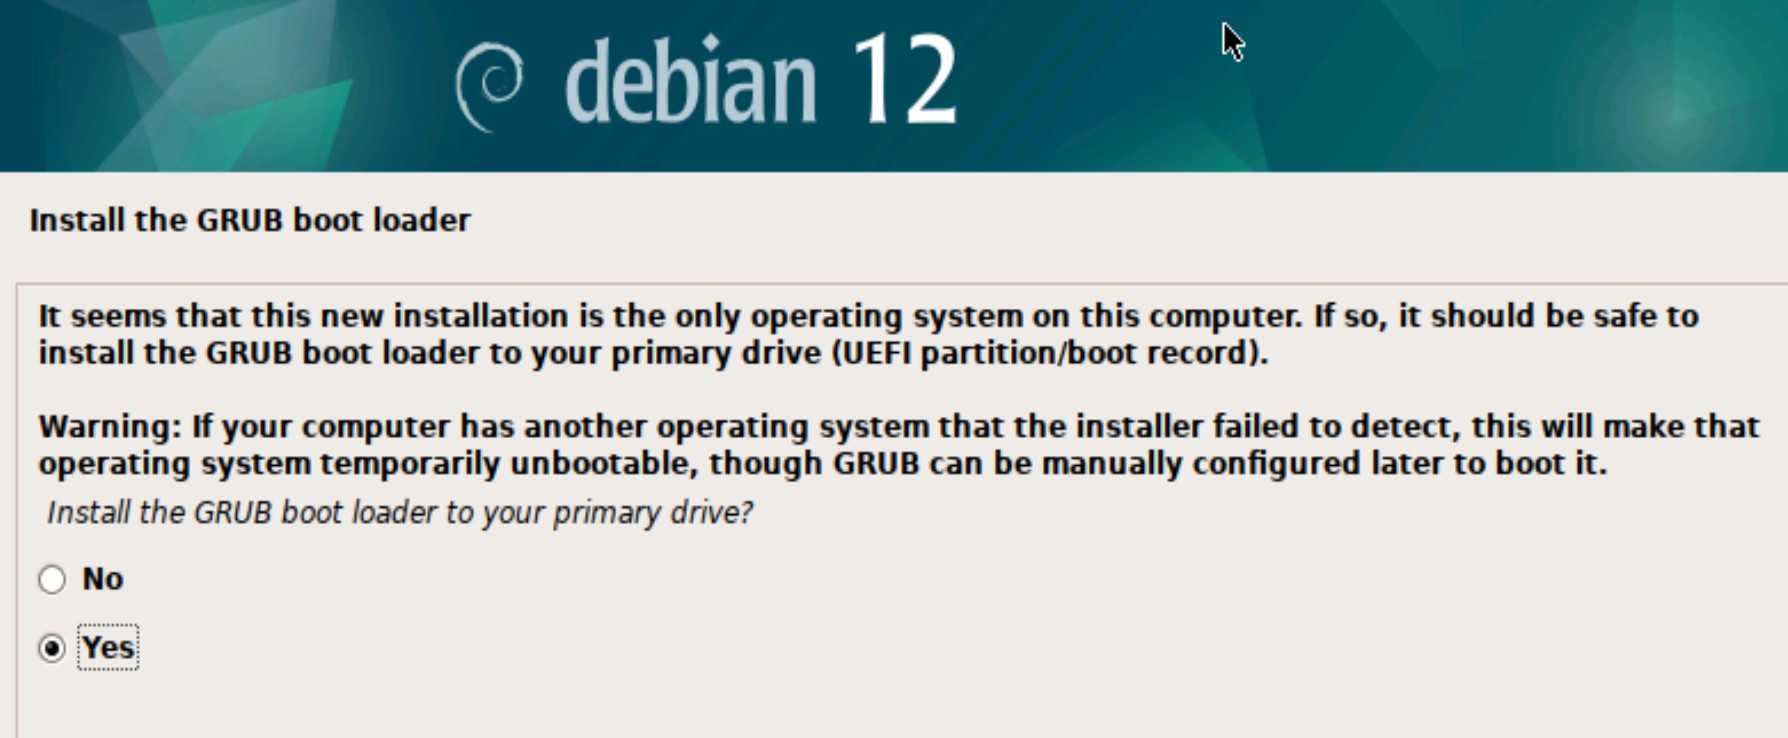
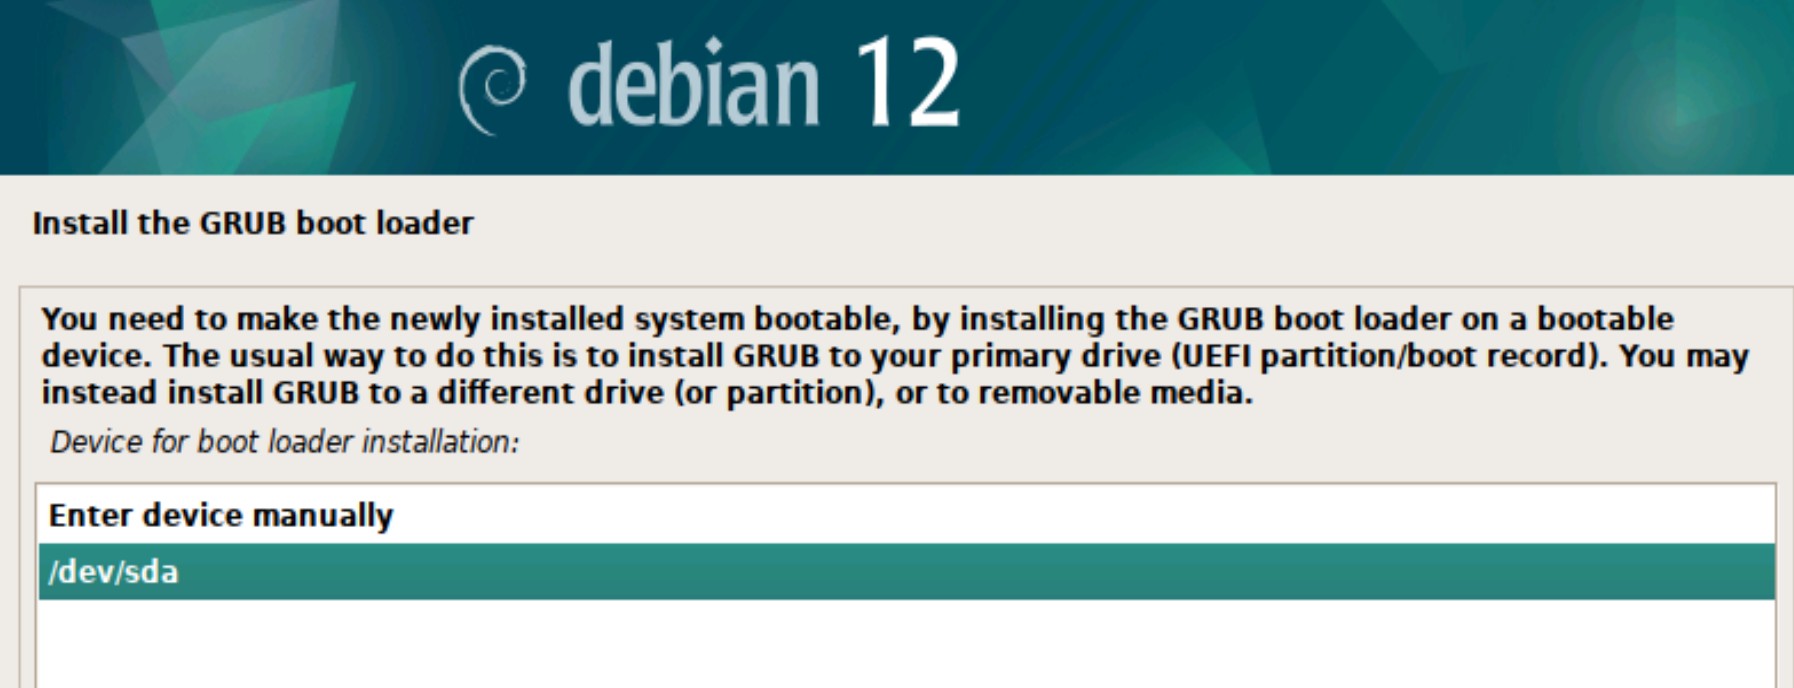
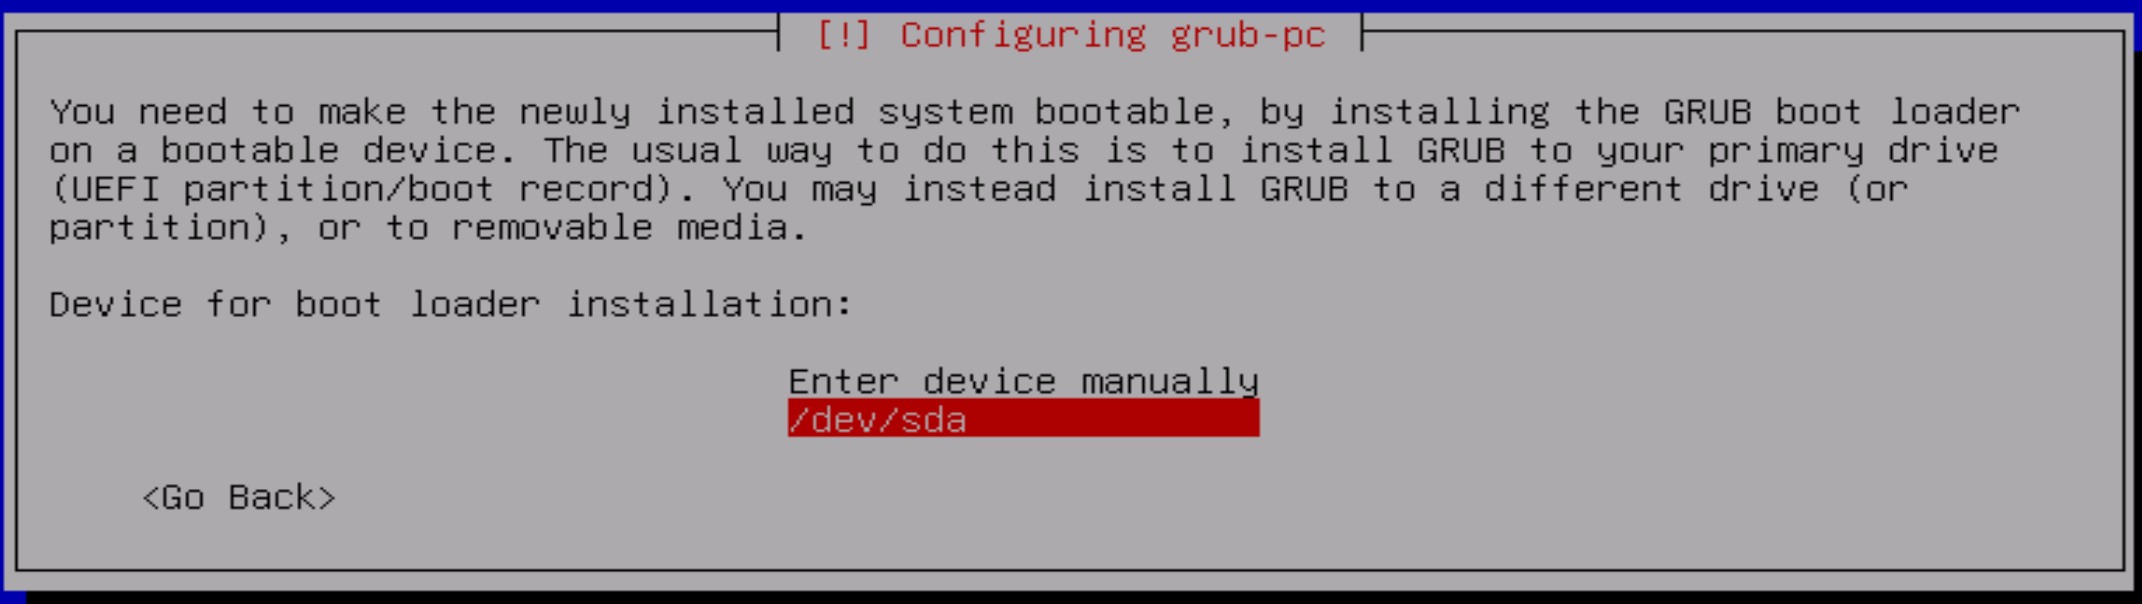
Install GRUB
Install the GRUB boot loader 一定要選 Yes,否則無法開機

接下來要選擇 /dev/sda
第一次登入
第一次進入 Debian 請用 root 帳號登入,然後輸入如下指定安裝 sudo 指定,並把新增的帳號設定為 sudo 群組
apt update
apt install sudo vim htop libgl1-mesa-glx
usermod -aG sudo abcd
visudo
libgl1-mesa-glx 是 Yolo V8 (ultralytics) 所需的函數庫。Debian 無此函數庫,所以需手動安裝。若是 Ubuntu 系統則已安裝,不需手動安裝。
新增的帳號切換到 sudo 時不需輸入密碼的設定如下
abcd ALL=(ALL) NOPASSWD: ALL
上面那個 abcd 帳號必需是安裝時的新增帳號
更改虛擬 ip
Debian 查詢 ip 的指令已經放棄 ifconfig,改由如下指令查詢
ip a
然後開啟 sudo vim /etc/network/interface,更改成如下
auto lo
#auto ens33  #開機自動連上網路
iface lo inet loopback
allow-hotplug ens33
iface ens33 inet static   #static使用固定IP,dhcp 使用動態 IP
address 192.168.1.10    #設定 IP
netmask 255.255.255.0   #子網路遮罩
gateway 192.168.1.1    #閘道器
設定 DNS,sudo vim /etc/resolv.conf
nameserver 168.95.1.1
nameserver 168.95.192.1
重啟網路
sudo systemctl restart networking
最後使用如下指令看 ip 是否已變更
ip a
安裝 Mariadb 資料庫
Debian 已改用 Mariadb,經本人測試,Mariadb 已相當的穩定,且跟 MySQL 相容,裏面的資料都可以互相轉換。
安裝 Mariadb
使用如下安裝最新版本的 Mariadb 資料庫
sudo apt install mariadb-server
使用如下指定啟動 Mariadb
sudo systemctl enable mariadb
sudo systemctl start mariadb
安全性設定
開始Mariadb 前,需設定安全性,請用如下指令執行
sudo mysql_secure_installation
然後依下所示,足一回答
thomas@mahaljsp:~$ sudo mysql_secure_installation

NOTE: RUNNING ALL PARTS OF THIS SCRIPT IS RECOMMENDED FOR ALL MariaDB
      SERVERS IN PRODUCTION USE!  PLEASE READ EACH STEP CAREFULLY!

In order to log into MariaDB to secure it, we'll need the current
password for the root user. If you've just installed MariaDB, and
haven't set the root password yet, you should just press enter here.

Enter current password for root (enter for none): #輸入 root 密碼
OK, successfully used password, moving on...

Setting the root password or using the unix_socket ensures that nobody
can log into the MariaDB root user without the proper authorisation.

You already have your root account protected, so you can safely answer 'n'.

Switch to unix_socket authentication [Y/n] y
Enabled successfully!
Reloading privilege tables..
 ... Success!


You already have your root account protected, so you can safely answer 'n'.

Change the root password? [Y/n] n
 ... skipping.

By default, a MariaDB installation has an anonymous user, allowing anyone
to log into MariaDB without having to have a user account created for
them.  This is intended only for testing, and to make the installation
go a bit smoother.  You should remove them before moving into a
production environment.

Remove anonymous users? [Y/n] y
 ... Success!

Normally, root should only be allowed to connect from 'localhost'.  This
ensures that someone cannot guess at the root password from the network.

Disallow root login remotely? [Y/n] y
 ... Success!

By default, MariaDB comes with a database named 'test' that anyone can
access.  This is also intended only for testing, and should be removed
before moving into a production environment.

Remove test database and access to it? [Y/n] y
 - Dropping test database...
 ... Success!
 - Removing privileges on test database...
 ... Success!

Reloading the privilege tables will ensure that all changes made so far
will take effect immediately.

Reload privilege tables now? [Y/n] y
 ... Success!

Cleaning up...

All done!  If you've completed all of the above steps, your MariaDB
installation should now be secure.

Thanks for using MariaDB!
新增 Mariadb 登入帳號
root 只能本機登入 Mariadb,所以必需新增另一個帳號進行遠端登入。請先用 root 帳號登入
sudo mysql -u root -p
然後輸入如下指令
use mysql;
create user '帳號'@'%' identified by '密碼';
grant all privileges on *.* to '帳號'@'%';
允許遠端連線
開啟如下設定文件
sudo vim /etc/mysql/mariadb.conf.d/50-server.cnf
更改外部可以連線
bind-address = 0.0.0.0
最後動啟 Mariadb
sudo systemctl restart mariadb
重啟後就可以從遠端登入 Mariadb
備份與還原
備份與還原跟 mysql 一樣
mysqldump -u thomas -p --routines wordpress > wordpress.sql #備份
mysql -u thomas -p --default-character-set=utf8 wordpress < wordpress.sql #還原
安裝 Web Server
安裝 nginx
Debian 安裝 nginx 跟 Ubuntu 一樣
sudo apt-get install nginx libnginx-mod-rtmp
安裝 php-fpm
使用如下指令安裝 php-fpm
sudo apt-get install nginx-extras php-fpm php-mysqlnd php-mysqli php-gd
設定 nginx
sudo vim /etc/nginx/nginx.cnf,更改如下
events {
        use epoll;
        worker_connections 1024;
}
http{
    #手動加入此段, 防止資料太大無法上傳
    client_max_body_size 4096m;
    proxy_connect_timeout   100;
    proxy_send_timeout      150;
    proxy_read_timeout      200;
}
設定虛擬站台
sudo vim /etc/nginx/sites-available/default,更改成如下
server{
        listen 80;
        listen [::]:80;
        server_name ~.*;
        root /server/wordpress;
        add_header X-Frame-Options SAMEORIGIN;#禁止網頁被內崁
        index index.php index.html;
        location ~* \.(ico|css|js|gif|jpe?g|png|ogg|ogv|svg|svgz|eot|otf|woff)(\?.+)?$ {
                expires max;
                log_not_found off;
        }
        location / {
                try_files $uri $uri/ /index.php?$args;
        }
        location ~* \.php$ {
                fastcgi_pass 127.0.0.1:9000;
                fastcgi_index index.php;
                fastcgi_split_path_info ^(.+\.php)(.*)$;
                include fastcgi_params;
                fastcgi_param SCRIPT_FILENAME $document_root$fastcgi_script_name;
        }
	location /nginx_status {
		stub_status;
		allow 0.0.0.0;
	}
}
設定php-fpm
sudo vim /etc/php/8.2/fpm/pool.d/www.conf,更改如下
listen = 127.0.0.1:9000
;php_admin_value[memory_limit] = 32M
php_admin_value[memory_limit] = 8192M
新增 wordpress 目錄
請在 /server/下新增 wordpress 目錄
mkdir /server/wordpress
重啟 nginx 及 php
使用如下指令重啟 nginx 及 php
sudo systemctl restart nginx
sudo systemctl restart php8.2-fpm
啟用 SSL
現今使用 80 port 之明碼伺服器都會被瀏覽器標示為不安全的,所以加入 SSL 已是必要的,請先安裝如下套件
sudo apt install certbot
sudo apt install python3-certbot-nginx
然後使用如下指令開始安裝 SSL
sudo certbot --nginx
然後依序填入 eMail 及相關問題即可安裝完成