用途
Windows Server, 又稱背景處理程序. 特性如下
1. 開機時會自動執行
2. 在背景執行
因此, 希望在伺服器背景中每隔一段時間就執行某些任務, 就可以使用Windows Service. 因為Windows Service在背景中執行, 所以當然沒有任何顯示畫面
開啟新專案
開啟新專案, 選取Windows 服務(.NET Framework), 專案名稱自訂, 在此以 “自動同步” 為範例. 當建置編譯完成後, 就會產生 “自動同步.exe” 檔案
檔案架構
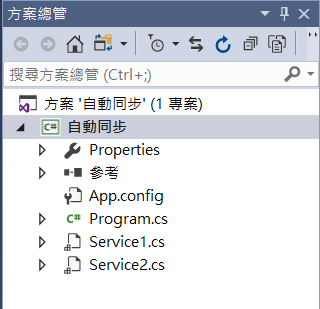
開啟專案後, 程式進入點為Program.cs, 下方有一個Service1.cs. 此處就是撰寫要執行任務的地方.
一個專案, 可以包含多個Service. 若要新增其他的Service, 只要在專案處按右鍵/加入/新增項目, 再選 Windows服務即可
Program
Program.cs裏的Main()為程式進入點. 先產生ServiceBase[]陣列, 並將所有的Service物件被入陣列中, 再由ServiceBase.Run() 啟動Service.
    static void Main()
    {
        ServiceBase[] ServicesToRun;
        ServicesToRun = new ServiceBase[]
        {
            new 同步內湖Service()
        };
        ServiceBase.Run(ServicesToRun);
    }
Services程式碼
Services即為要執行任務的地方. Service沒有UI, 所以只能檢視程式碼.
更改Service的檔案名稱, 只是方便日後維護用, 並不會在服務元件中顯示. 此範例中將檔名更改為 “NcoService3.cs”
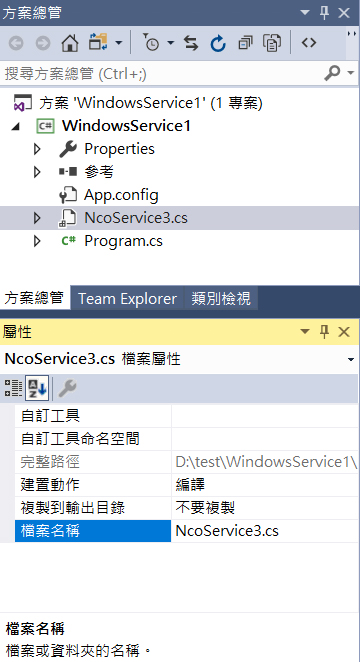
NcoService3.cs裏只有很簡單的OnStart跟OnStop
protected override void OnStart(string[] args)
    {
        timer = new Timer();
        timer.Elapsed += new ElapsedEventHandler(timerElapsed);
        timer.Interval = 5 * 1000;//5秒就傳送全部資料
        timer.Start();
    }
protected override void OnStop()
{
    timer.Stop();
    timer = null;
}
private void timerElapsed(object sender, ElapsedEventArgs e)
{
    timer.Enabled = false;
    try
    {
        task();
    }
    catch { }
    timer.Enabled = true;
}
private void task()
{
    要作的事情寫在這裏
}
安裝程式
Windows Service是在背景執行的, 所以按下執行按鈕, 當然不會鳥你. 如下圖
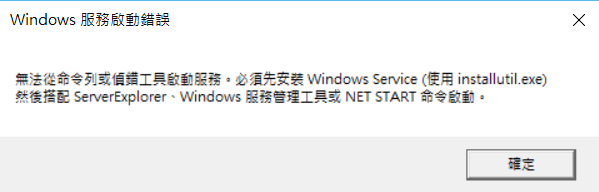
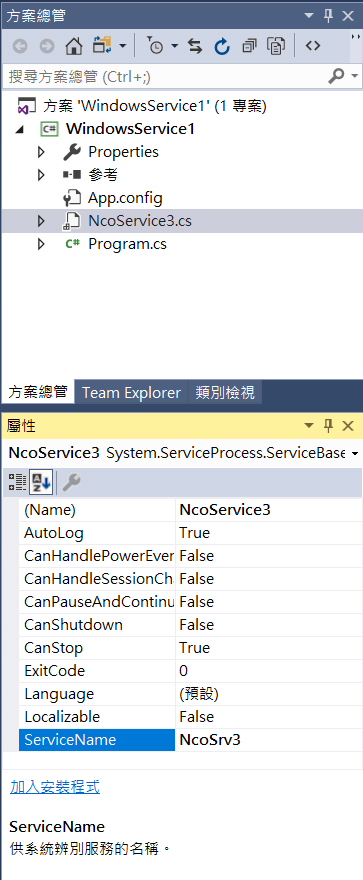
正確啟動方式如下, 在 “NcoService3.cs” 按二下, 會出現如下畫面,
請記得將ServiceName 改為服務視窗所要顯示的名字, 如NcoSvc, 改完 ServiceName後才可加入安裝程式
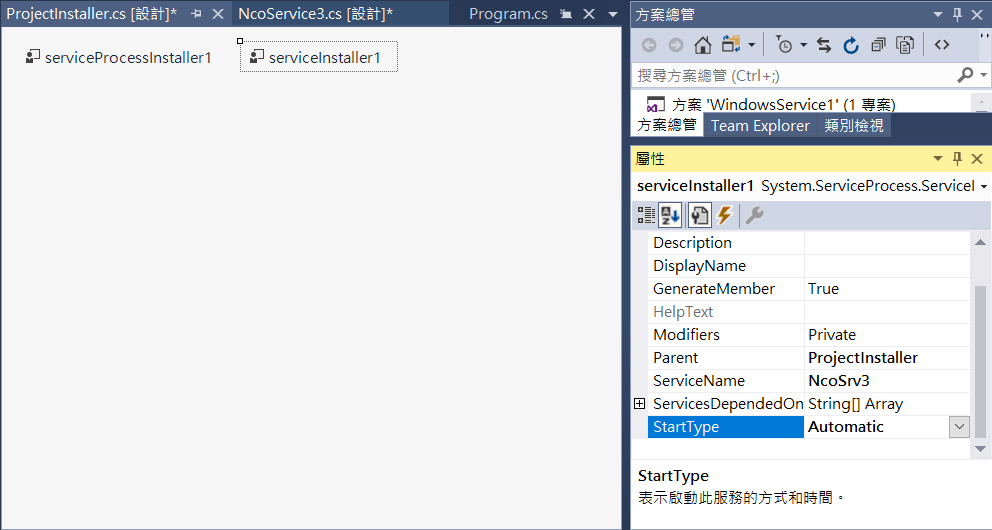
加入安裝程式後, 會出現ProjectInstaller.cs. 在ProjectInstaller.cs按二下, 左邊會出現serviceProcessInstaller1及serviceInstaller1.
serviceInstaller1更改如下
1. Name : “NcoService3Installer”
2. StartType : Automatic
請注意, 此時的ServiceName不可更改, 一更改後, 等會安裝Windows服務就會失敗, 這是VS 的 bug
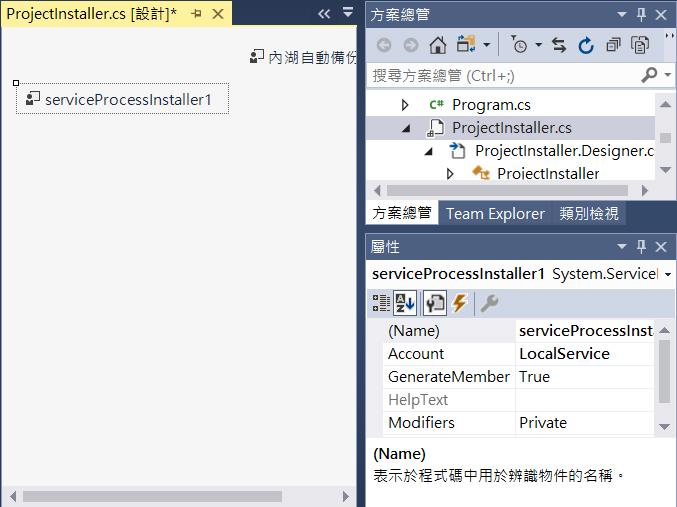
登入帳號
在ServiceProcessInstall1中, Account選取LocalService就不需要設定登入帳號
安裝後自動啟動
一般是重新開機後會自動啟動, 但開發測試期, 一直安裝, 解除, 都必需手動啟動. 所以可以使用如下方式, 在安裝後自動啟動
在如下的System.ServiceProcess.ServiceController(“字串”), 裏面的字串需為ServiceInstaller裏的ServiceName
    public partial class ProjectInstaller : System.Configuration.Install.Installer
    {
        public ProjectInstaller()
        {
            InitializeComponent();
            this.AfterInstall += new InstallEventHandler(ProjectInstaller_AfterInstall);
        }
        void ProjectInstaller_AfterInstall(object sender, InstallEventArgs e)
        {
            System.ServiceProcess.ServiceController sc = new System.ServiceProcess.ServiceController("同步內湖Svc");
            if (sc != null)
                sc.Start();
        }
        private void serviceProcessInstaller1_AfterInstall(object sender, InstallEventArgs e)
        {

        }
    }
發行
工具列先改為Release, 再由建置/建置/重建方案, 然後由 bin\Release 目錄即可找到 .exe檔
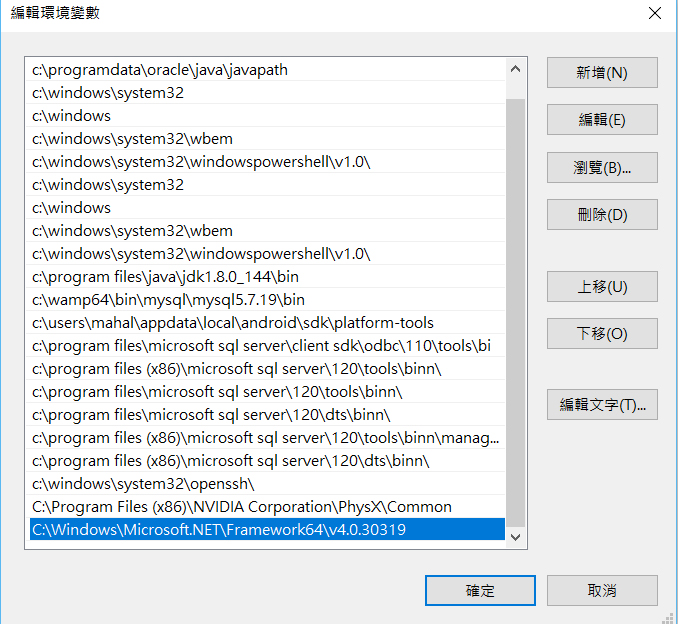
安裝
安裝時, 需使用InstallUtil.exe, 所以請在環境變數的path加入如下最後面的路徑
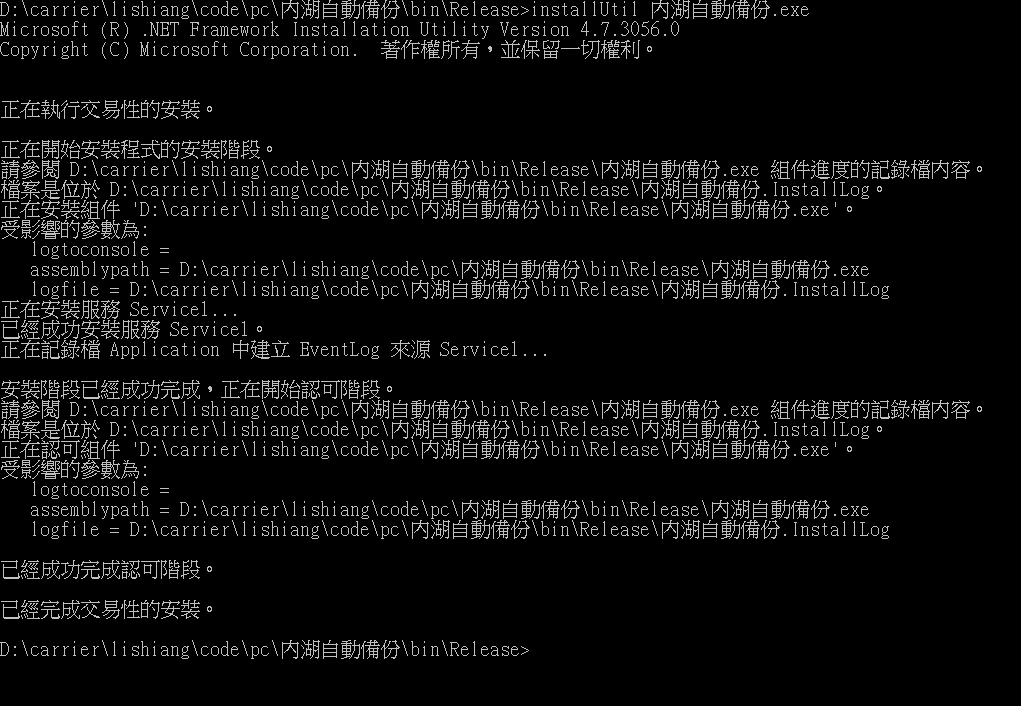
再以系統管理員進入Console模式, 進入建置的目錄,
輸入InstallUtil 自動同步.exe, 成功畫面如下
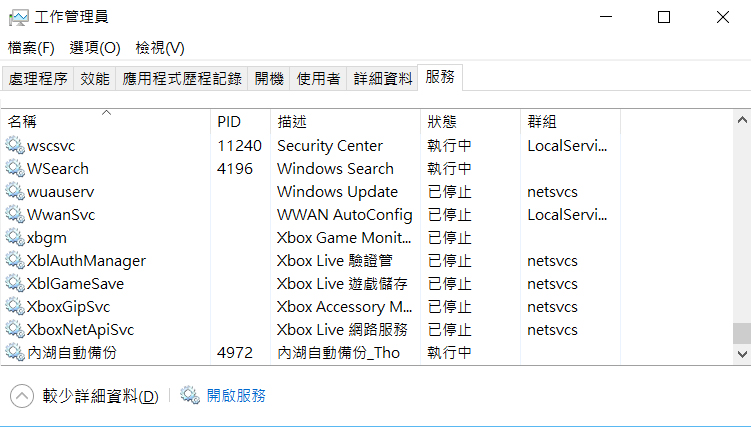
檢驗
Ctrl+Shift+ESC
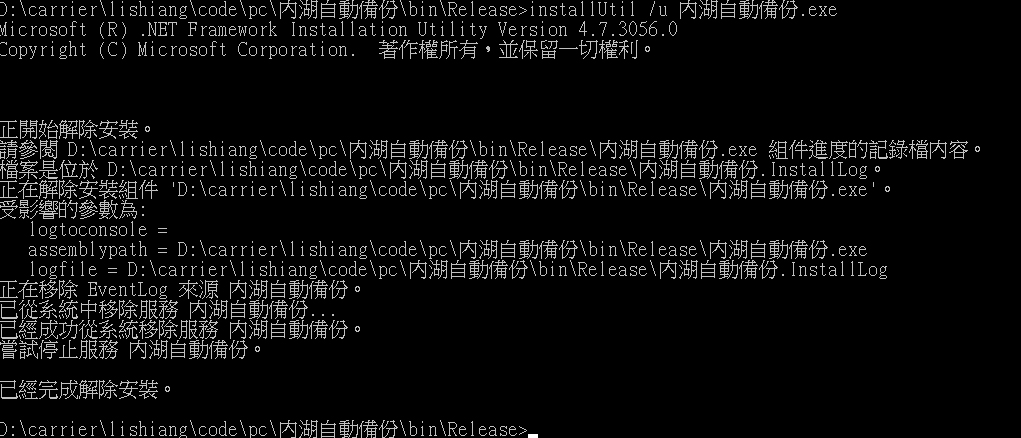
解除安裝
InstallUtil /u 自動同步
Log檔
Service因為沒有執行畫面, 所以要偵錯相當困難. 要解決此問題可以在專案中新增類別如下
    public class Log
    {
        public static void d(string message)
        {
            string filePath = @"D:\";
            string fileName = "log.txt";
            StreamWriter sw = new StreamWriter(filePath + fileName, true, System.Text.Encoding.Default);
            sw.WriteLine(DateTime.Now.ToString("yyyy/MM/dd HH:mm:ss") + " " + message);
            sw.Close();
        }
    }
然後於程式碼中只要打上Log.d(“string”), 即可將訊息寫入磁碟中, 就如同Android的除錯方式, 相當方便
強制移除 Windows Service
Windows Service若經過修改重建後, 要無法使用 installutil /u 移除了. 所以就要用另外的方式暴力移除
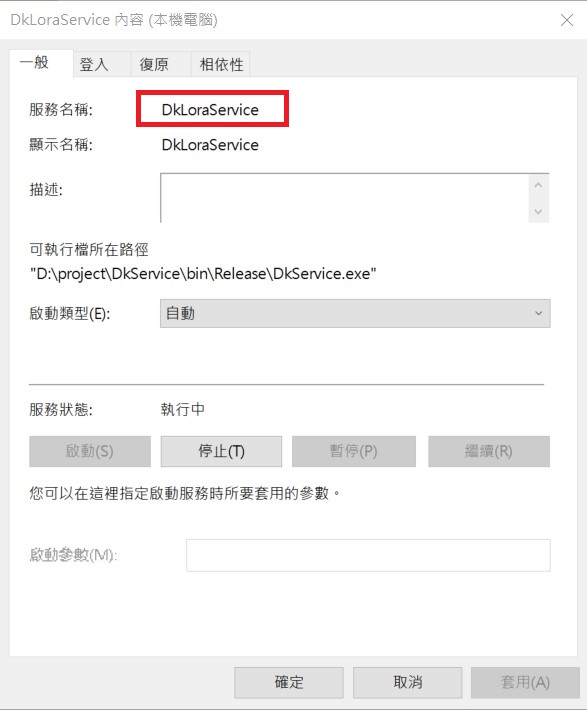
1. 開始/Windows系統/控制台/系統及安全性/系統管理工具/服務
2. 在要刪除的服務按右鍵/內容, 就可以看到服務名稱
3. 使用系統管理員權限進入Console模式, 下達
sc delete 服務名稱