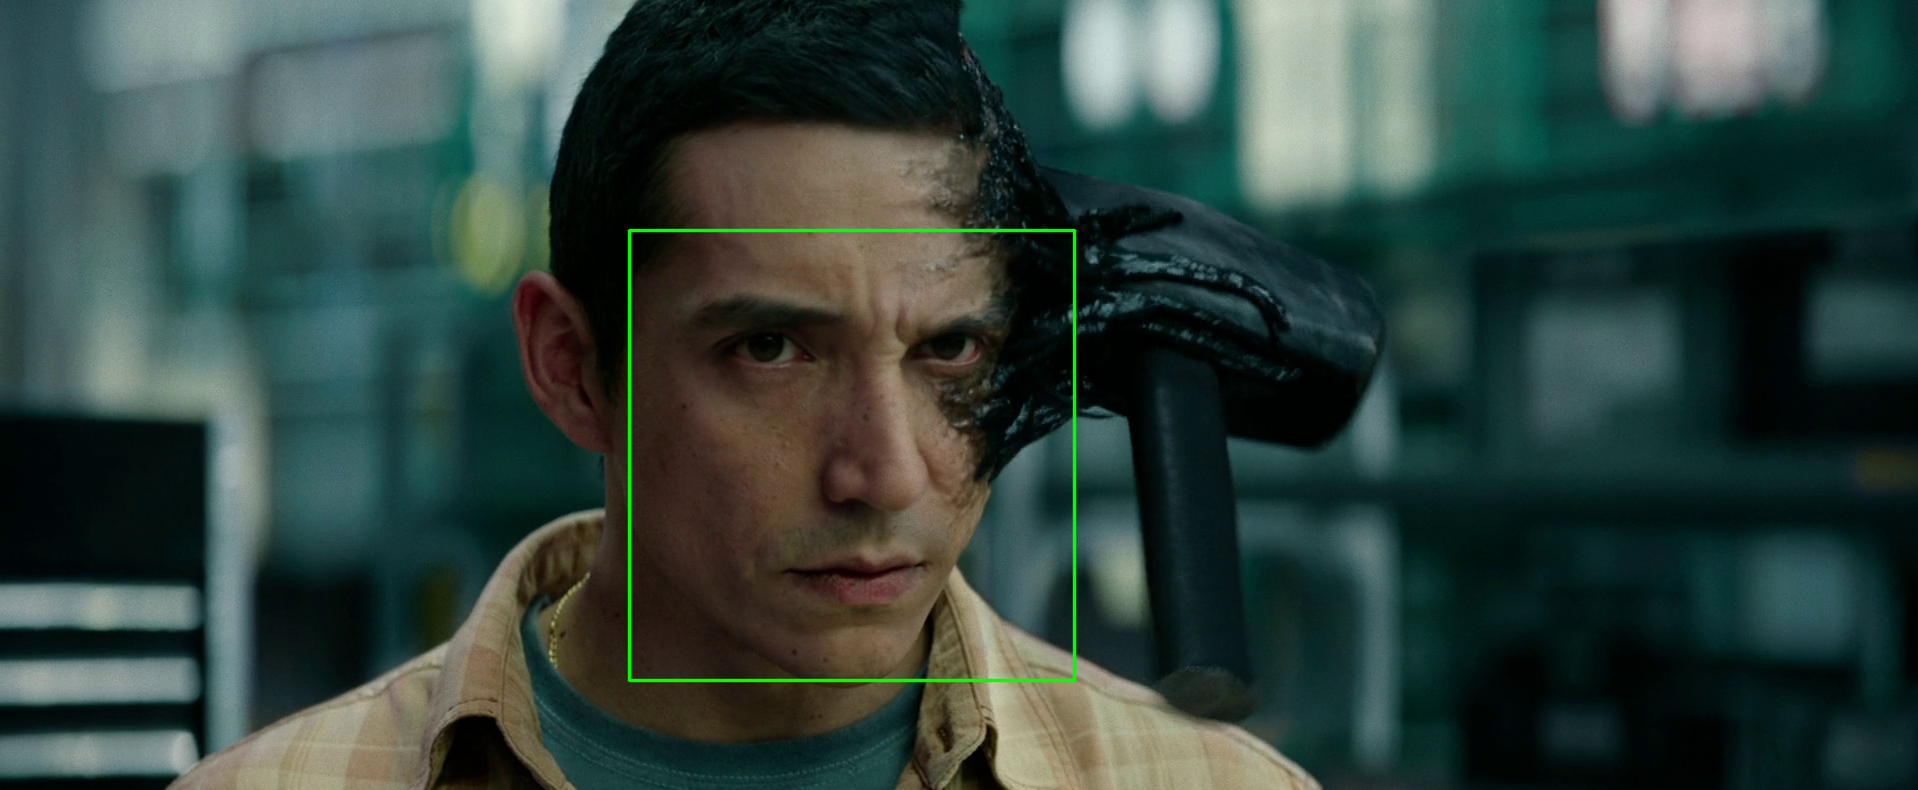
影片人臉偵測
本範例使用PyQt5的OpenGLWidget進行影片播放。
1. 首先使用cv2.VideoCapture()開啟影片,然後一幅一幅讀入,進行處理
a. 原始影格為 frame, 但size過大, 處理人臉偵測費時過久, 所以縮小成20%的frame_defect
b. 畫框線時, 需於frame乖上rate,放大標示框線
2. 將處理好的影片,傳送到OpenGLWidget進行update播放
MainWindow.py
import sys
from PyQt5.QtWidgets import QMainWindow, QApplication, QVBoxLayout
from MahalGl import MahalGl
from VideoThread import VideoThread
from ui.ui_mainwindow import Ui_MainWindow

class MainWindow(QMainWindow, Ui_MainWindow):
    def __init__(self, parent=None):
        super().__init__(parent)
        self.setupUi(self)
        layout=QVBoxLayout(self.frame)
        self.mahalGl=MahalGl()
        layout.addWidget(self.mahalGl)
        self.thread=VideoThread()
        self.thread.callback.connect(self.refresh)
        self.thread.start()
    def refresh(self, img):
        self.mahalGl.showImg=img
        self.mahalGl.update()
app=QApplication(sys.argv)
frame=MainWindow()
frame.show()
app.exec()
VideoThread.py
import cv2
import dlib
from PyQt5.QtCore import QThread, pyqtSignal
from MahalCv import MahalCv as cv

class VideoThread(QThread):
    callback=pyqtSignal(object)
    def __init__(self, parent=None):
        super().__init__(parent)
        self.runFlag=True
    def __del__(self):
        self.runFlag=False
        self.wait()
    def run(self):
        video=cv2.VideoCapture("movie.mkv")

        #指定影片從指定的秒數開始播放(900秒)
        video.set(cv2.CAP_PROP_POS_MSEC, 900000)
        #frame_width = int(video.get(cv2.CAP_PROP_FRAME_WIDTH))
        #frame_height = int(video.get(cv2.CAP_PROP_FRAME_HEIGHT))
        detector = dlib.get_frontal_face_detector()
        while video.isOpened() and self.runFlag:
            rate=5
            ret, frame = video.read()
            frame_detect = cv.resize(frame, scale=0.2)
            face = detector(frame_detect, 1)
            for i, d in enumerate(face):
                x1 = int(d.left() * rate)
                y1 = int(d.top() * rate)
                x2 = int(d.right() * rate)
                y2 = int(d.bottom() * rate)
                cv.rect(frame, x1, y1, x2, y2, color=(0,255,0), width=2)
            img=cv.cv2qimage(frame)
            self.callback.emit(img)
            QThread.msleep(1)
        video.release()
MahalGl.py
from PyQt5.QtCore import QPoint
from PyQt5.QtGui import QPainter, QImage
from PyQt5.QtWidgets import QOpenGLWidget

class MahalGl(QOpenGLWidget):
    def __init__(self,parent = None):
        super().__init__(parent)
        self.showImg=None
    def paintGL(self):
        print(self.width())
        if self.showImg is not None:
            paint = QPainter()
            paint.begin(self)

            #隨OpenGLWidget的大小縮放圖片
            self.showImg=self.showImg.smoothScaled(self.width(), self.height())
            paint.drawImage(QPoint(0,0),self.showImg)
            paint.end()