無論是在 Hyper-V 或是 WSL,安裝 nVidia 的 Cuda 及 cudnn 的步驟是一樣的。
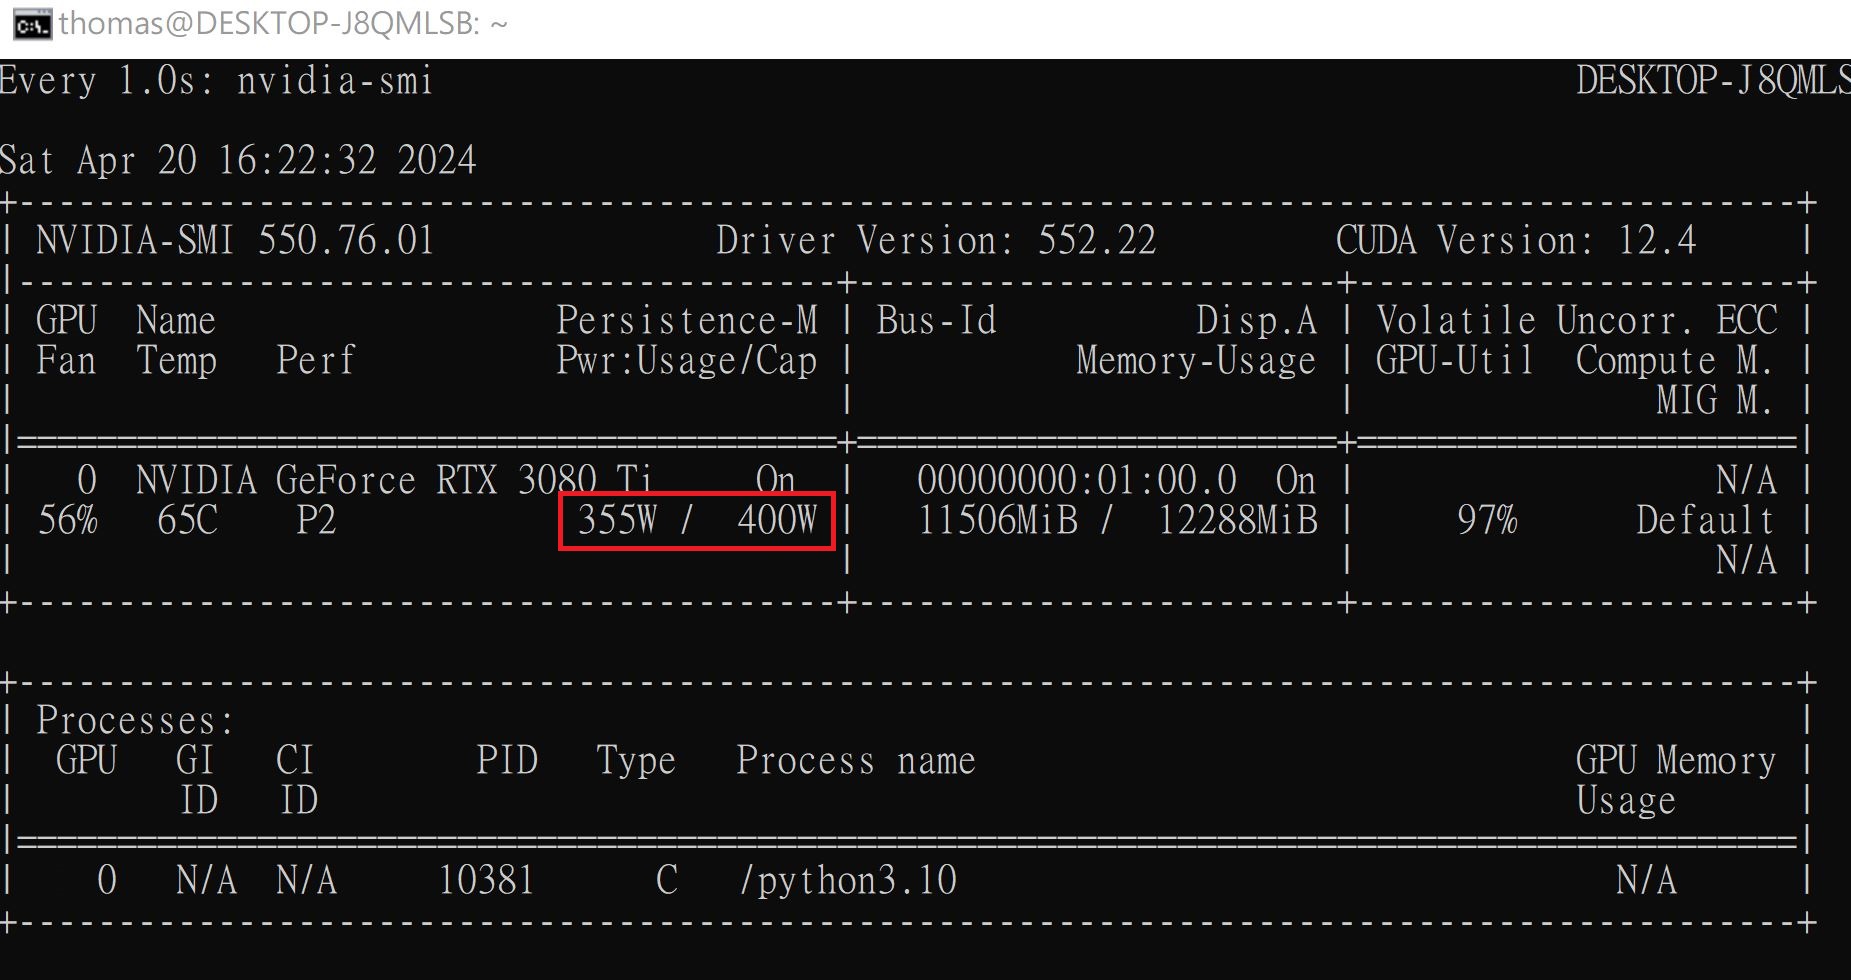
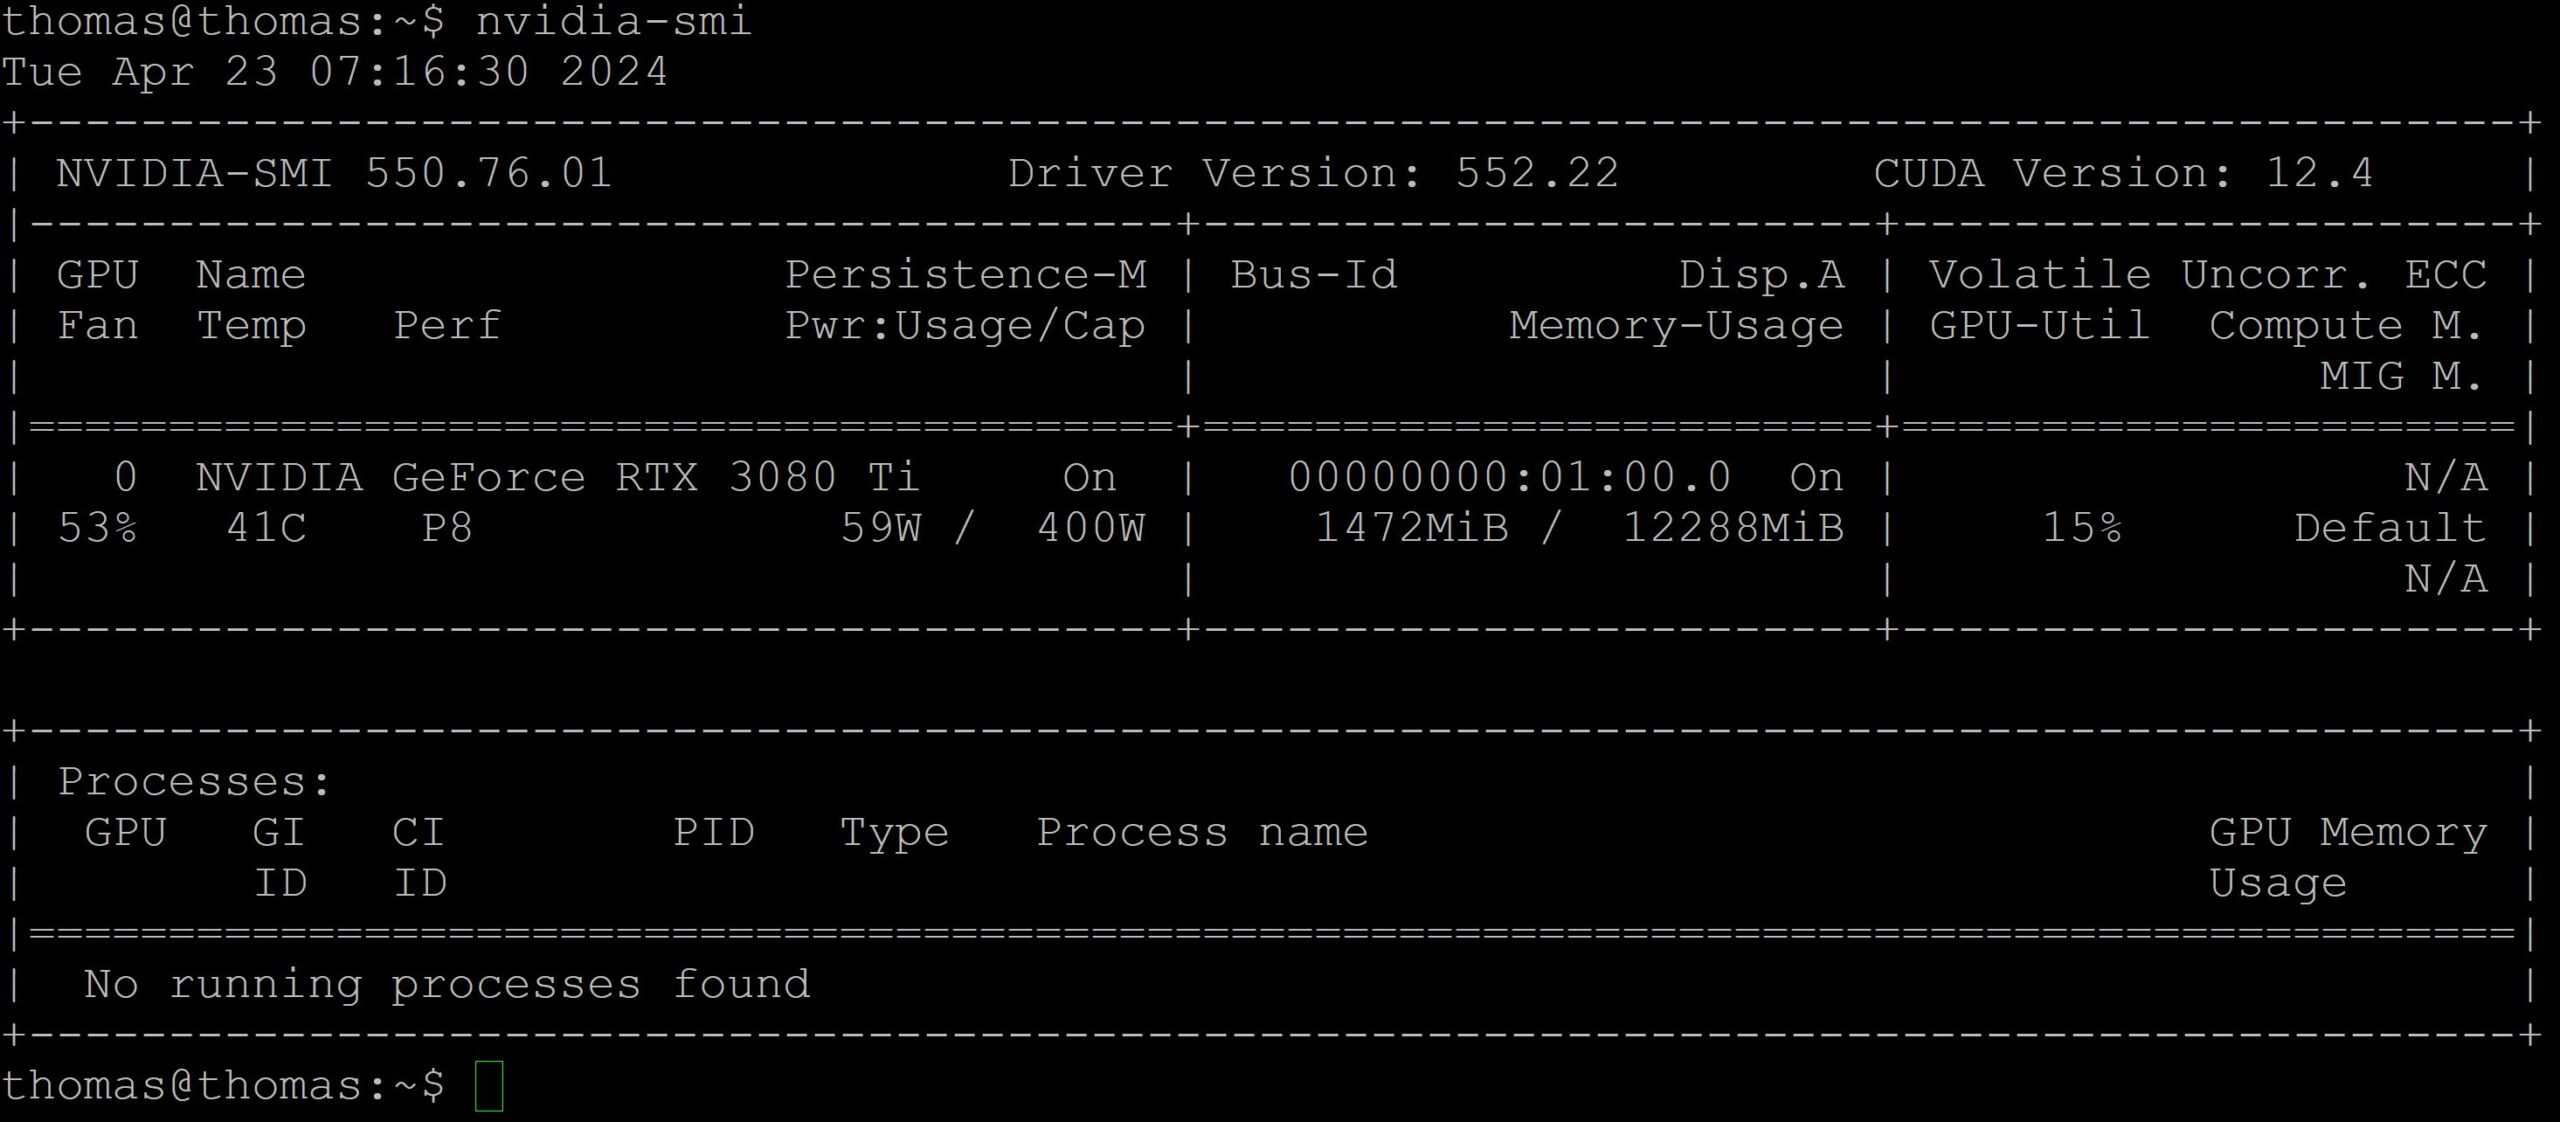
但在開始安裝 Cuda 時,一定要把虛擬機的硬体驅動程式安裝好,請執行 nvidia-smi,看到如下的畫面才可繼續安裝 Cuda。
安裝 Cuda
到官網 https://developer.nvidia.com/cuda-toolkit-archive 查看相關版本的安裝指令。底下是 cuda 12.4.0 的版本,請選擇 Linux/x86_64/WSL-Ubuntu/2.0/deb(local)。底下是官網說明的安裝方式。
wget https://developer.download.nvidia.com/compute/cuda/repos/wsl-ubuntu/x86_64/cuda-wsl-ubuntu.pin
sudo mv cuda-wsl-ubuntu.pin /etc/apt/preferences.d/cuda-repository-pin-600
wget https://developer.download.nvidia.com/compute/cuda/12.4.0/local_installers/cuda-repo-wsl-ubuntu-12-4-local_12.4.0-1_amd64.deb
sudo dpkg -i cuda-repo-wsl-ubuntu-12-4-local_12.4.0-1_amd64.deb
sudo cp /var/cuda-repo-wsl-ubuntu-12-4-local/cuda-*-keyring.gpg /usr/share/keyrings/
sudo apt-get update
sudo apt-get -y install cuda-toolkit-12-4
安裝 cudnn
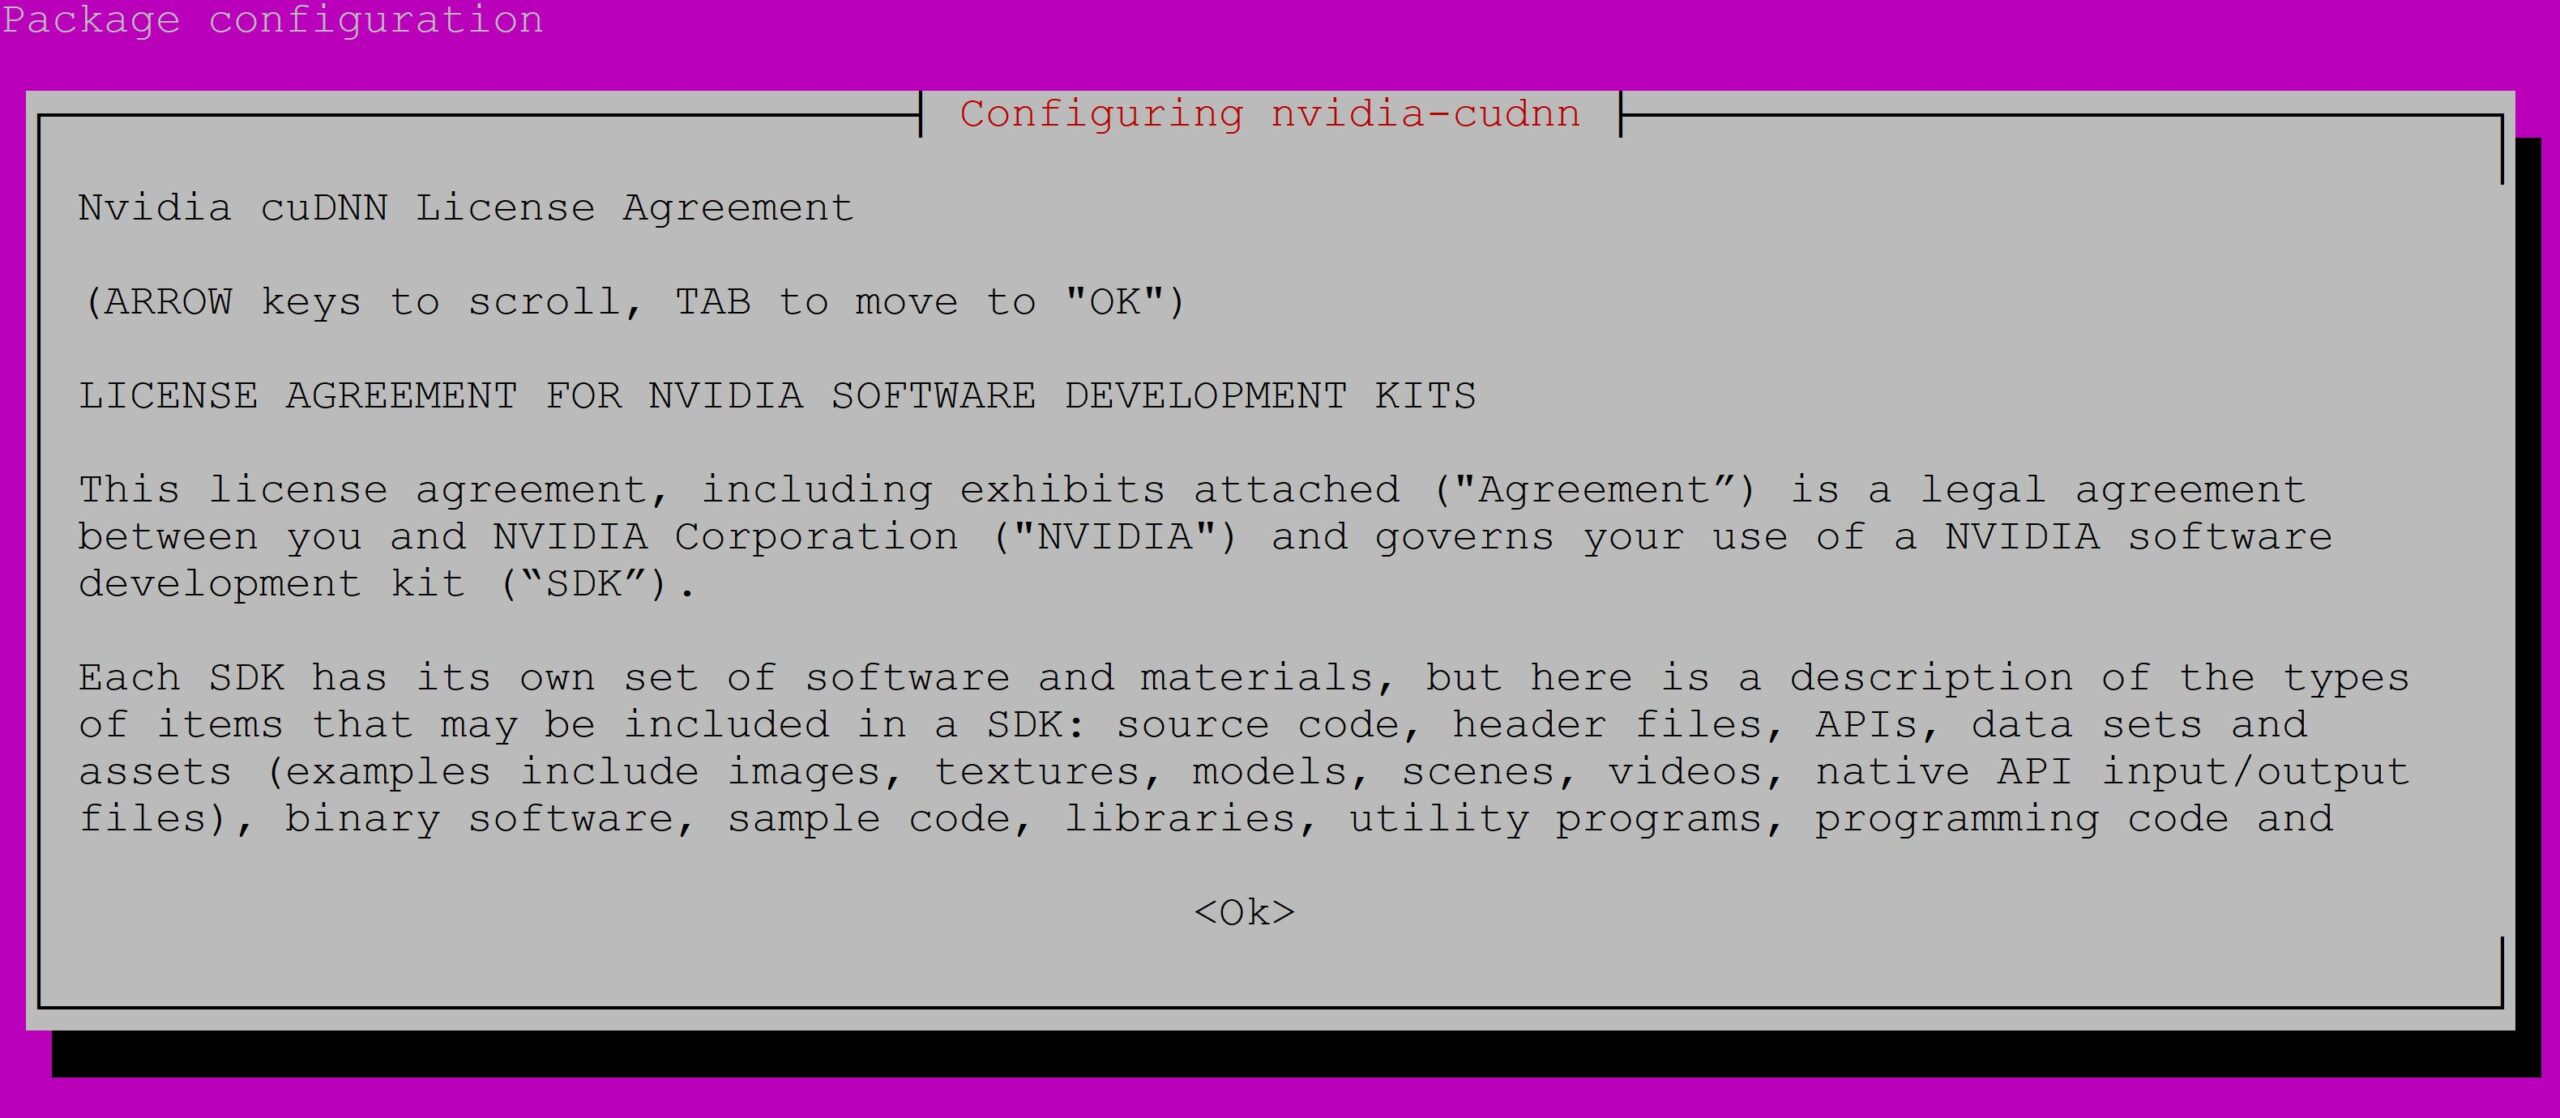
安裝 cudnn 時, 請勿依官網的方式下載及安裝,只需使用 apt-get install 即可,安裝套件如下。
sudo apt-get -y install nvidia-cudnn
安裝的第一個畫面請按 “OK”
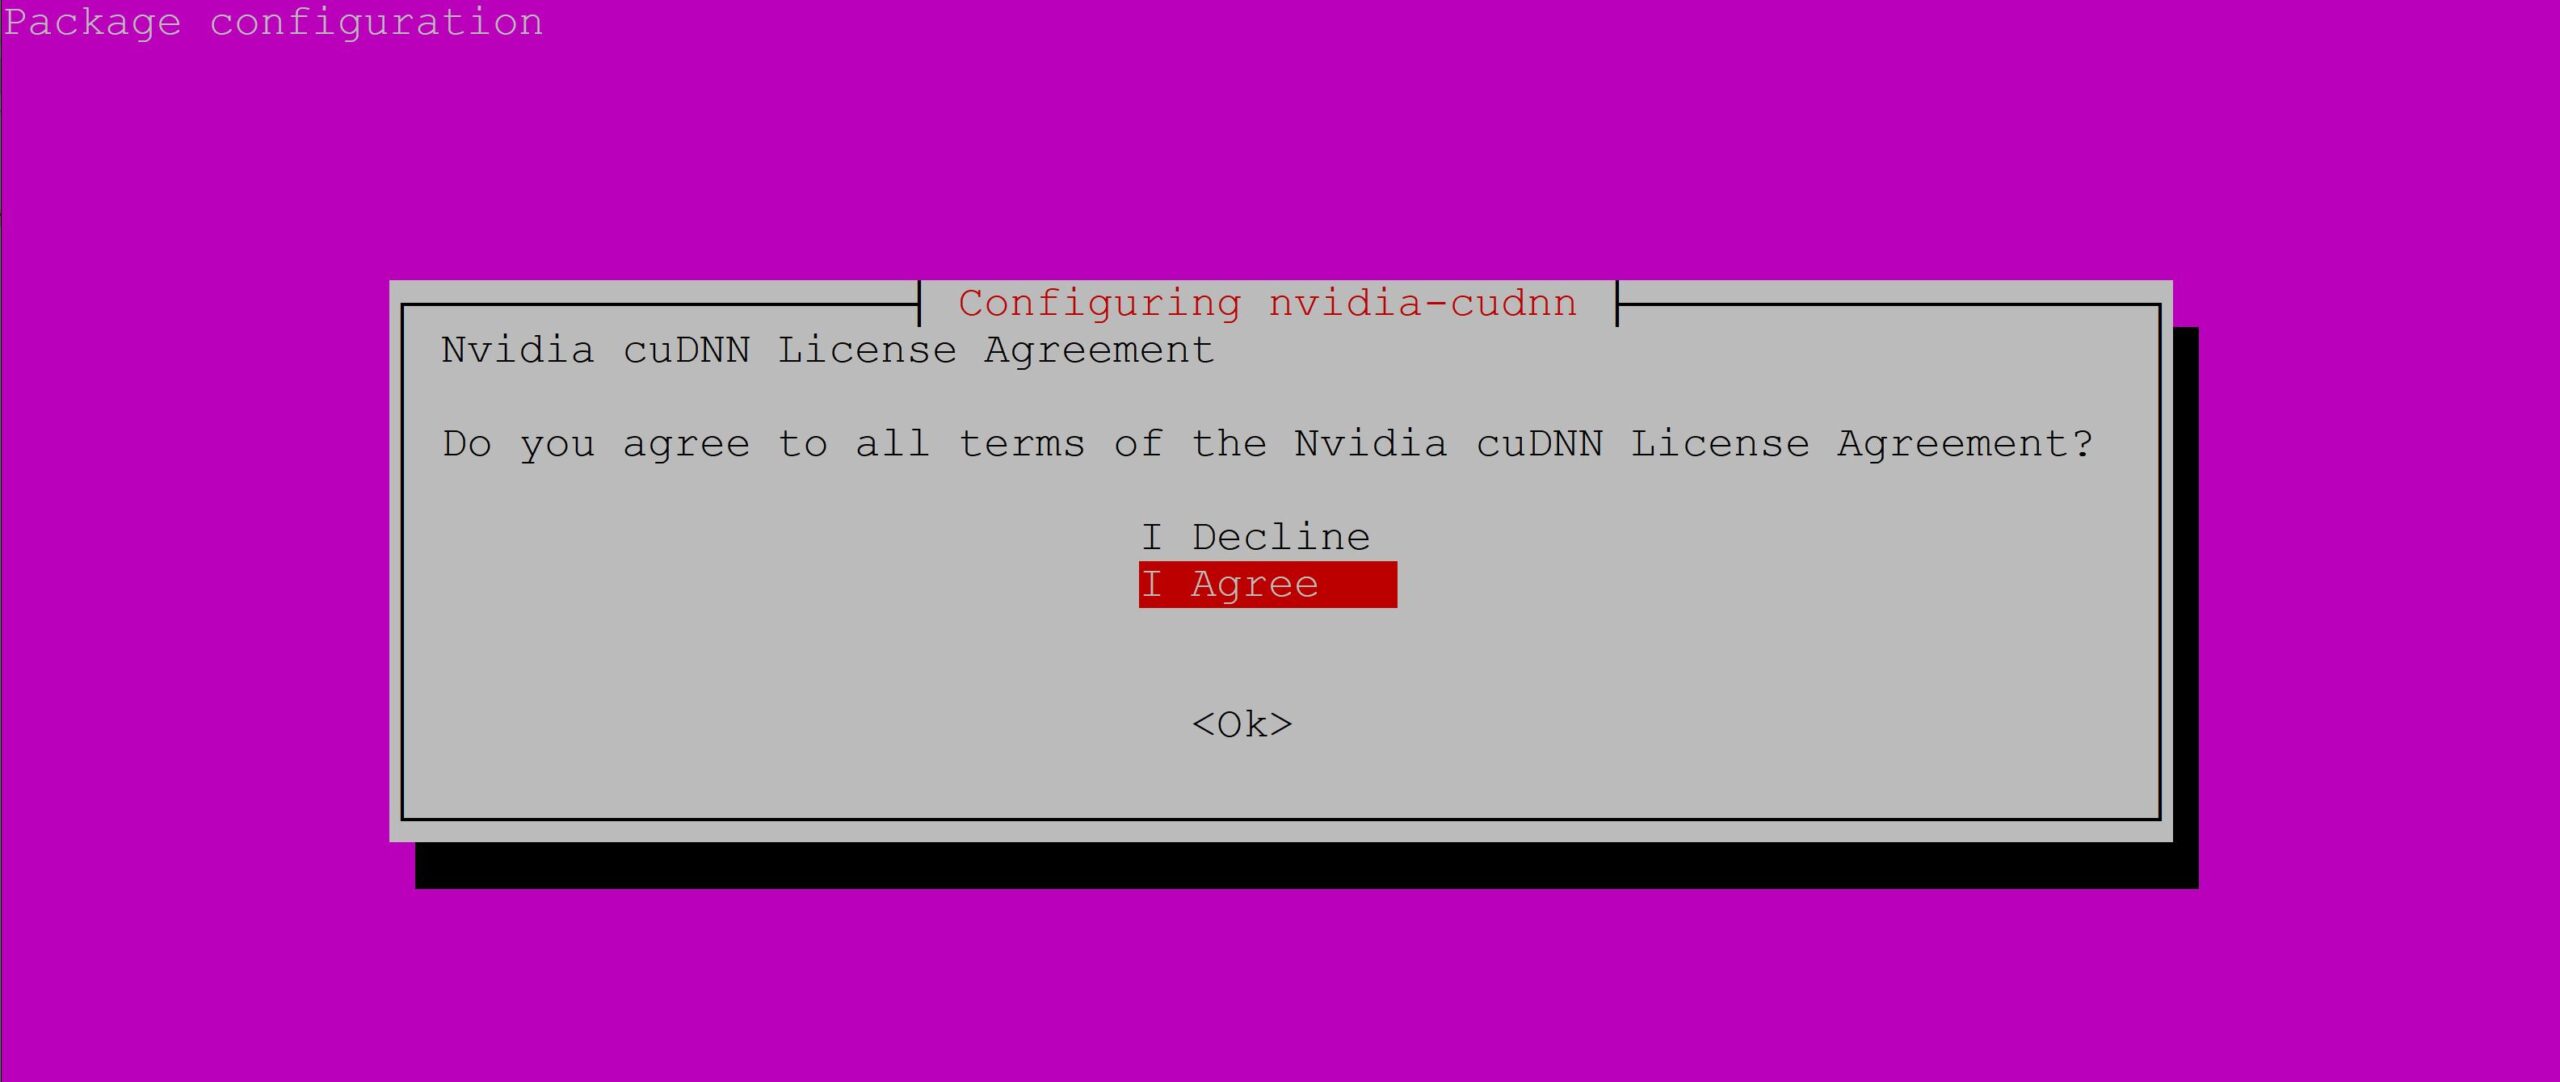
第二個畫面,請選取 “I Agree”,然後再按 “OK”
驗証 GPU 是否啟動
請先在 Python 專案下安裝套件
sudo apt-get install python3.10-venv
mkdir pytest
cd pytest
python3 -m venv .venv
source ./.venv/bin/activate
pip install tensorflow
然後編寫測試程式,vim test.py
import os
os.environ['TF_CPP_MIN_LOG_LEVEL']='2'
import tensorflow as tf
gpus = tf.config.list_physical_devices(device_type='GPU')
print(gpus)
最後執行,python test.py,得到如下的結果就表示硬体 GPU 啟動了
[PhysicalDevice(name='/physical_device:GPU:0', device_type='GPU')]
蒙地卡羅測試
執行如下的蒙地卡羅程式,可以看到 GPU 全速在執行。
import os
os.environ['TF_CPP_MIN_LOG_LEVEL'] = '2'
import tensorflow as tf
batch=100_000_000
epochs=2000
incircle=0
#@tf.function
def cal():
    points=tf.random.uniform([2, batch], dtype=tf.float32)
    dist=tf.sqrt(tf.square(points[0])+tf.square(points[1]))
    count=tf.where(dist<=1).shape[0]
    return count
# cpus = tf.config.list_physical_devices (device_type='CPU')
# tf.config.set_visible_devices (devices=cpus[0]) #只使用 CPU, device_type預設是'CPU'
for e in range(epochs):
    count=cal()
    incircle+=count
    area=incircle /((e+1)*batch)
    pi=area*4
    print(f'epoch:{e+1}, pi={pi}')
上述程式開始跑時,開啟另一個視窗執行如下指令
watch -n 1 nvidia-smi
就可以看到顯卡的功耗到了 355瓦